Backsplash: Peel & Stick It
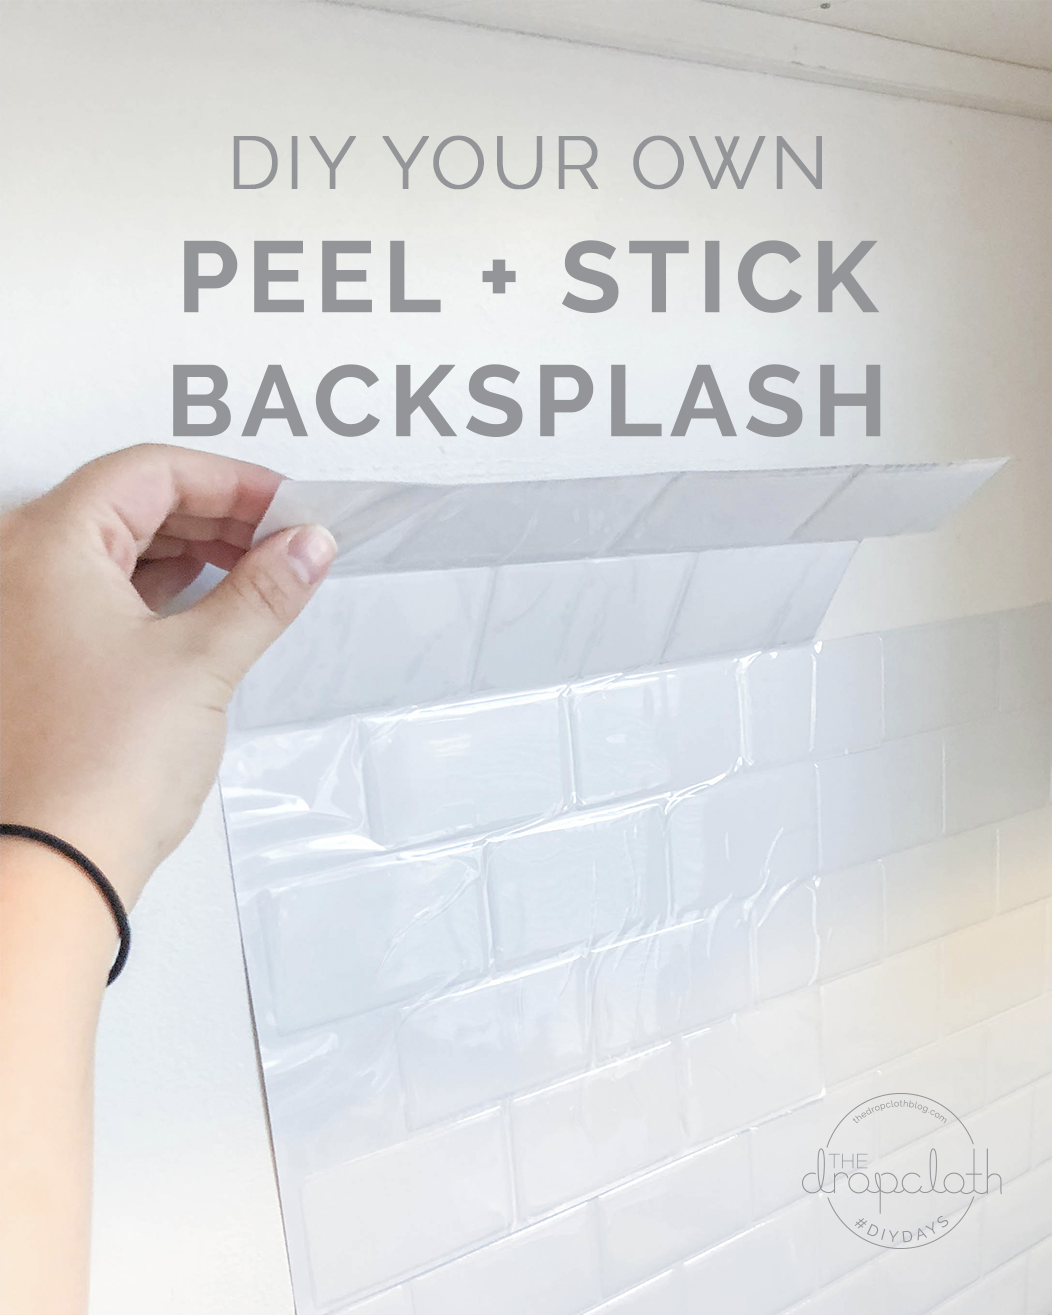
A new apartment this year brought me into a new kitchen - one that thankfully had many nicer upgrades from my previous rental - but was minus a protective backsplash! I quickly started researching an easy, non permanent solution to take care of my new kitchen walls and protect them from my splatters and haphazard cooking messes.
I found these simple peel-and-stick subway tiles on Amazon and decided - hey, why not give them a try? I’m SO glad I did because with a little effort they brought my simple kitchen to another level of homey. I cannot believe the difference they made in both look and function. No one believes me when I say I did my own tile…with stickers!
So here is what I used and how exactly it came together so you too can easily use these nifty stickers and upgrade your rental kitchen!
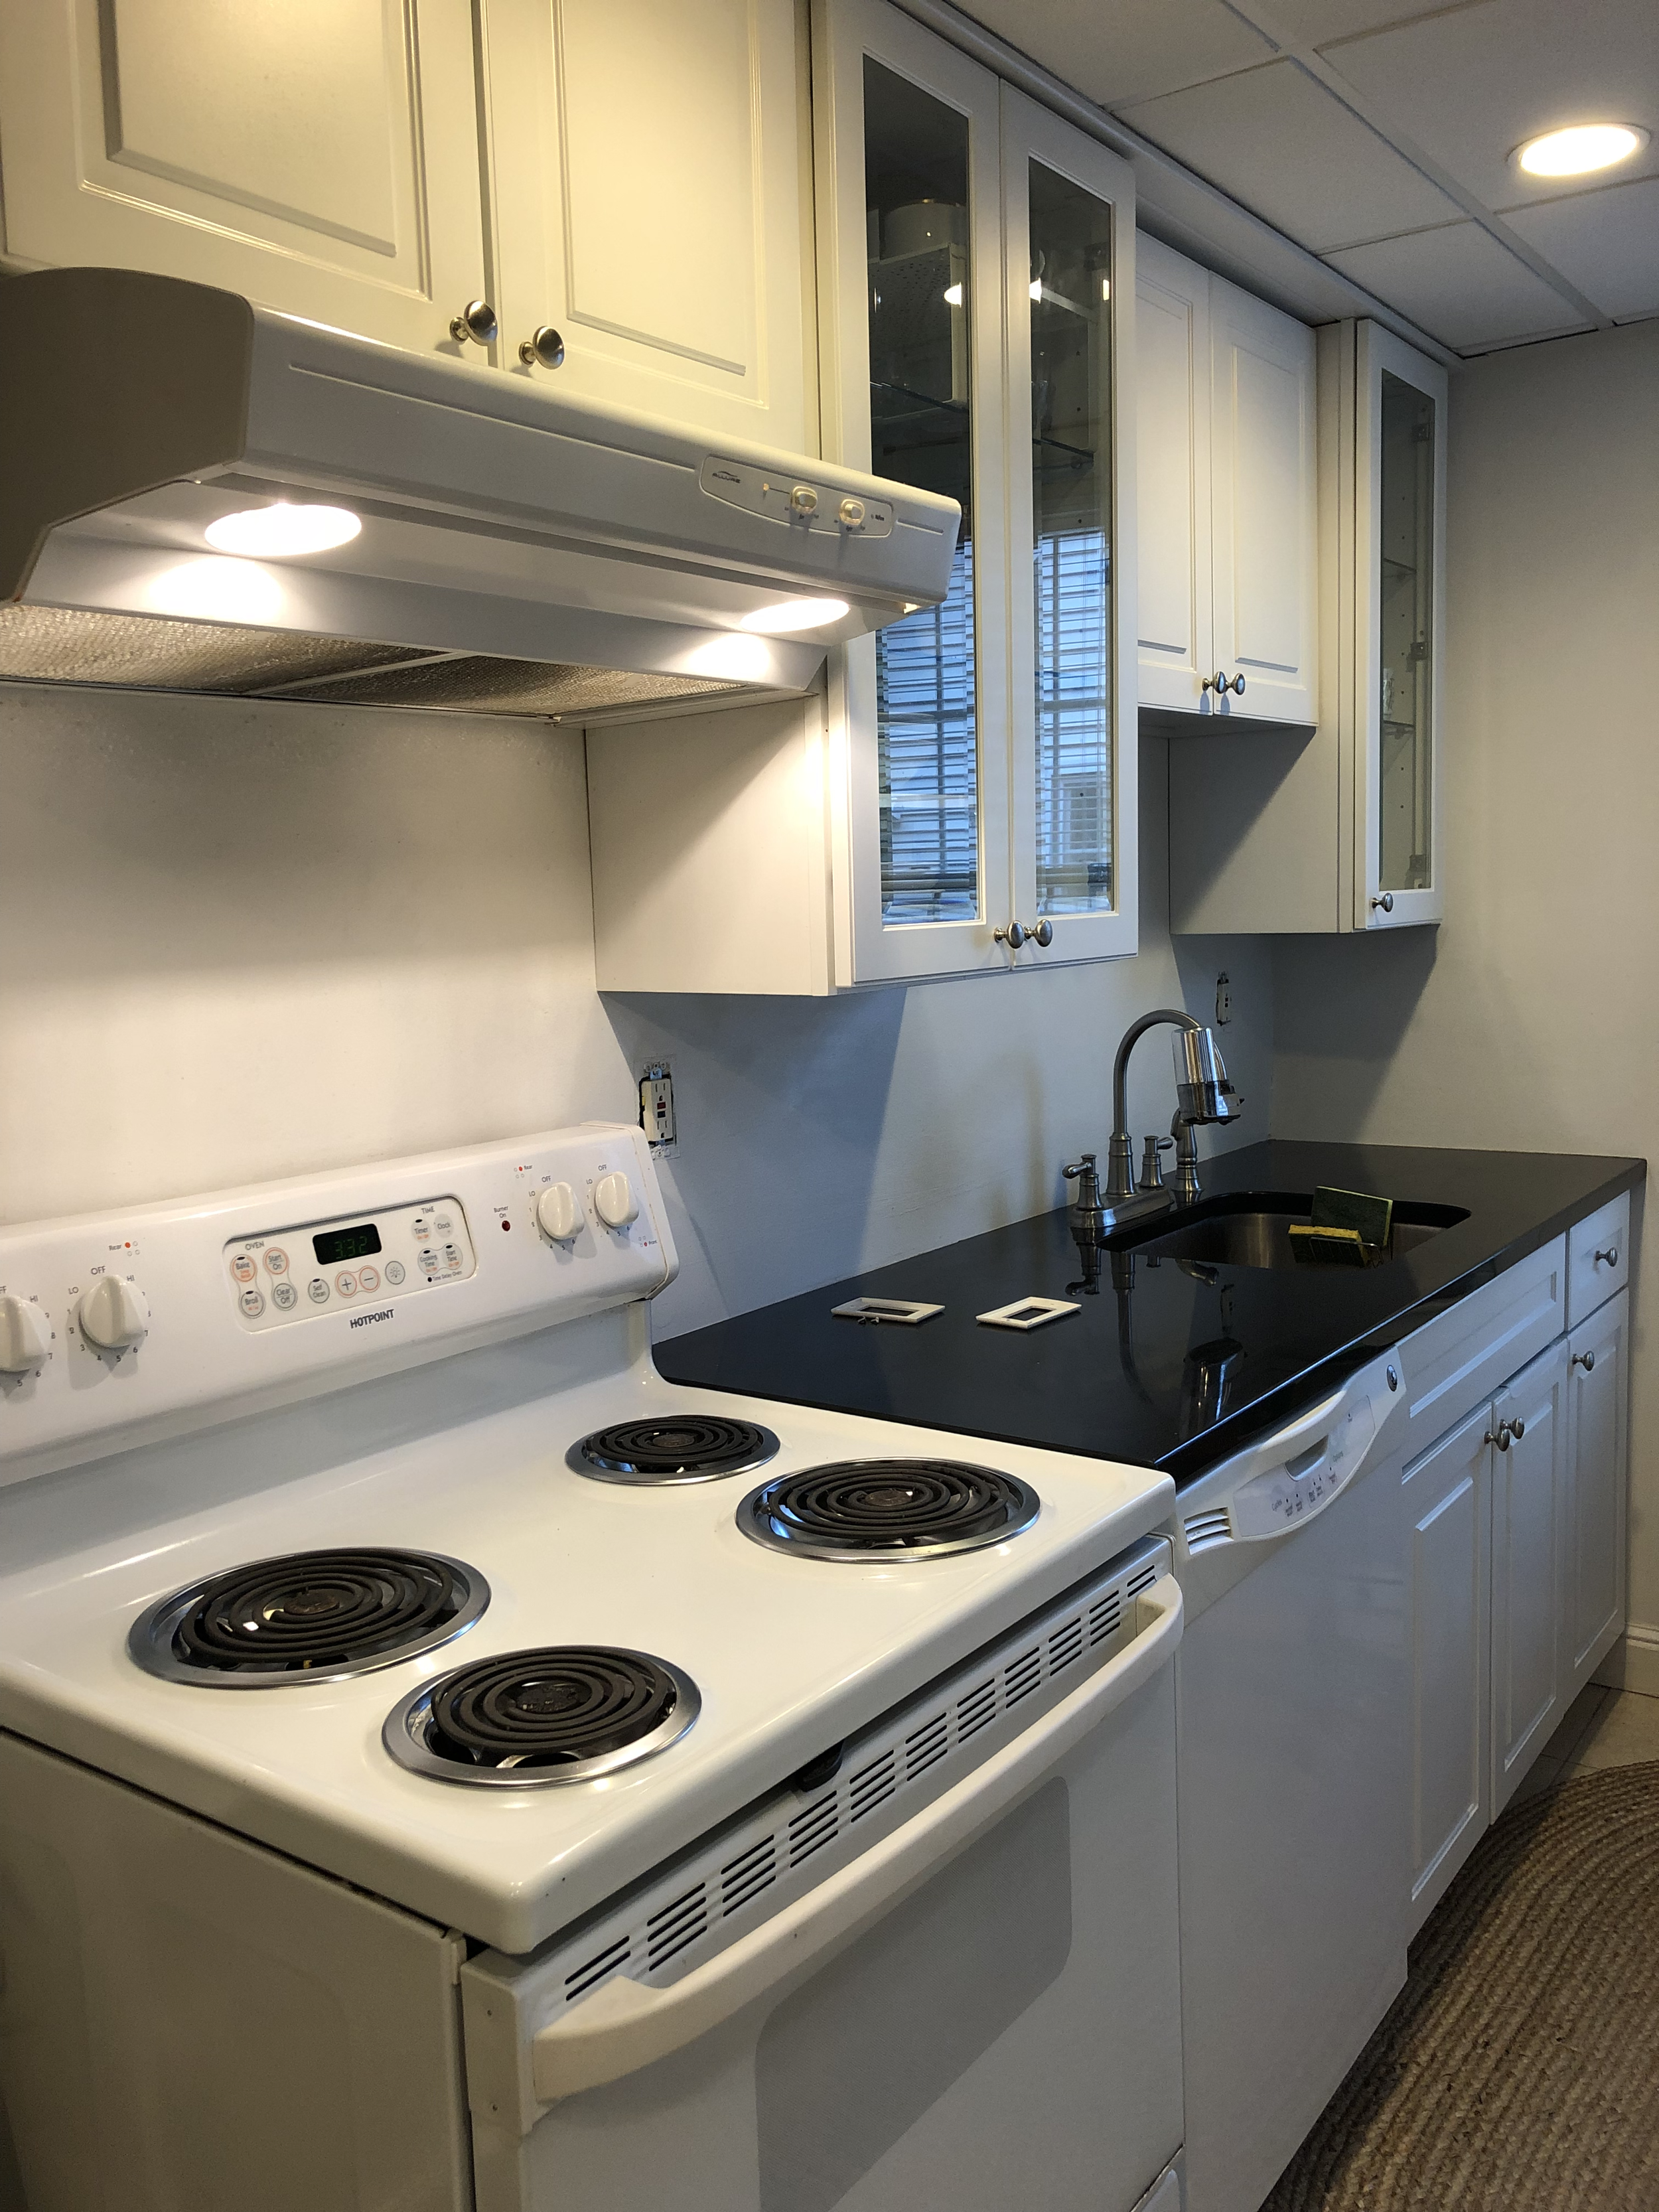
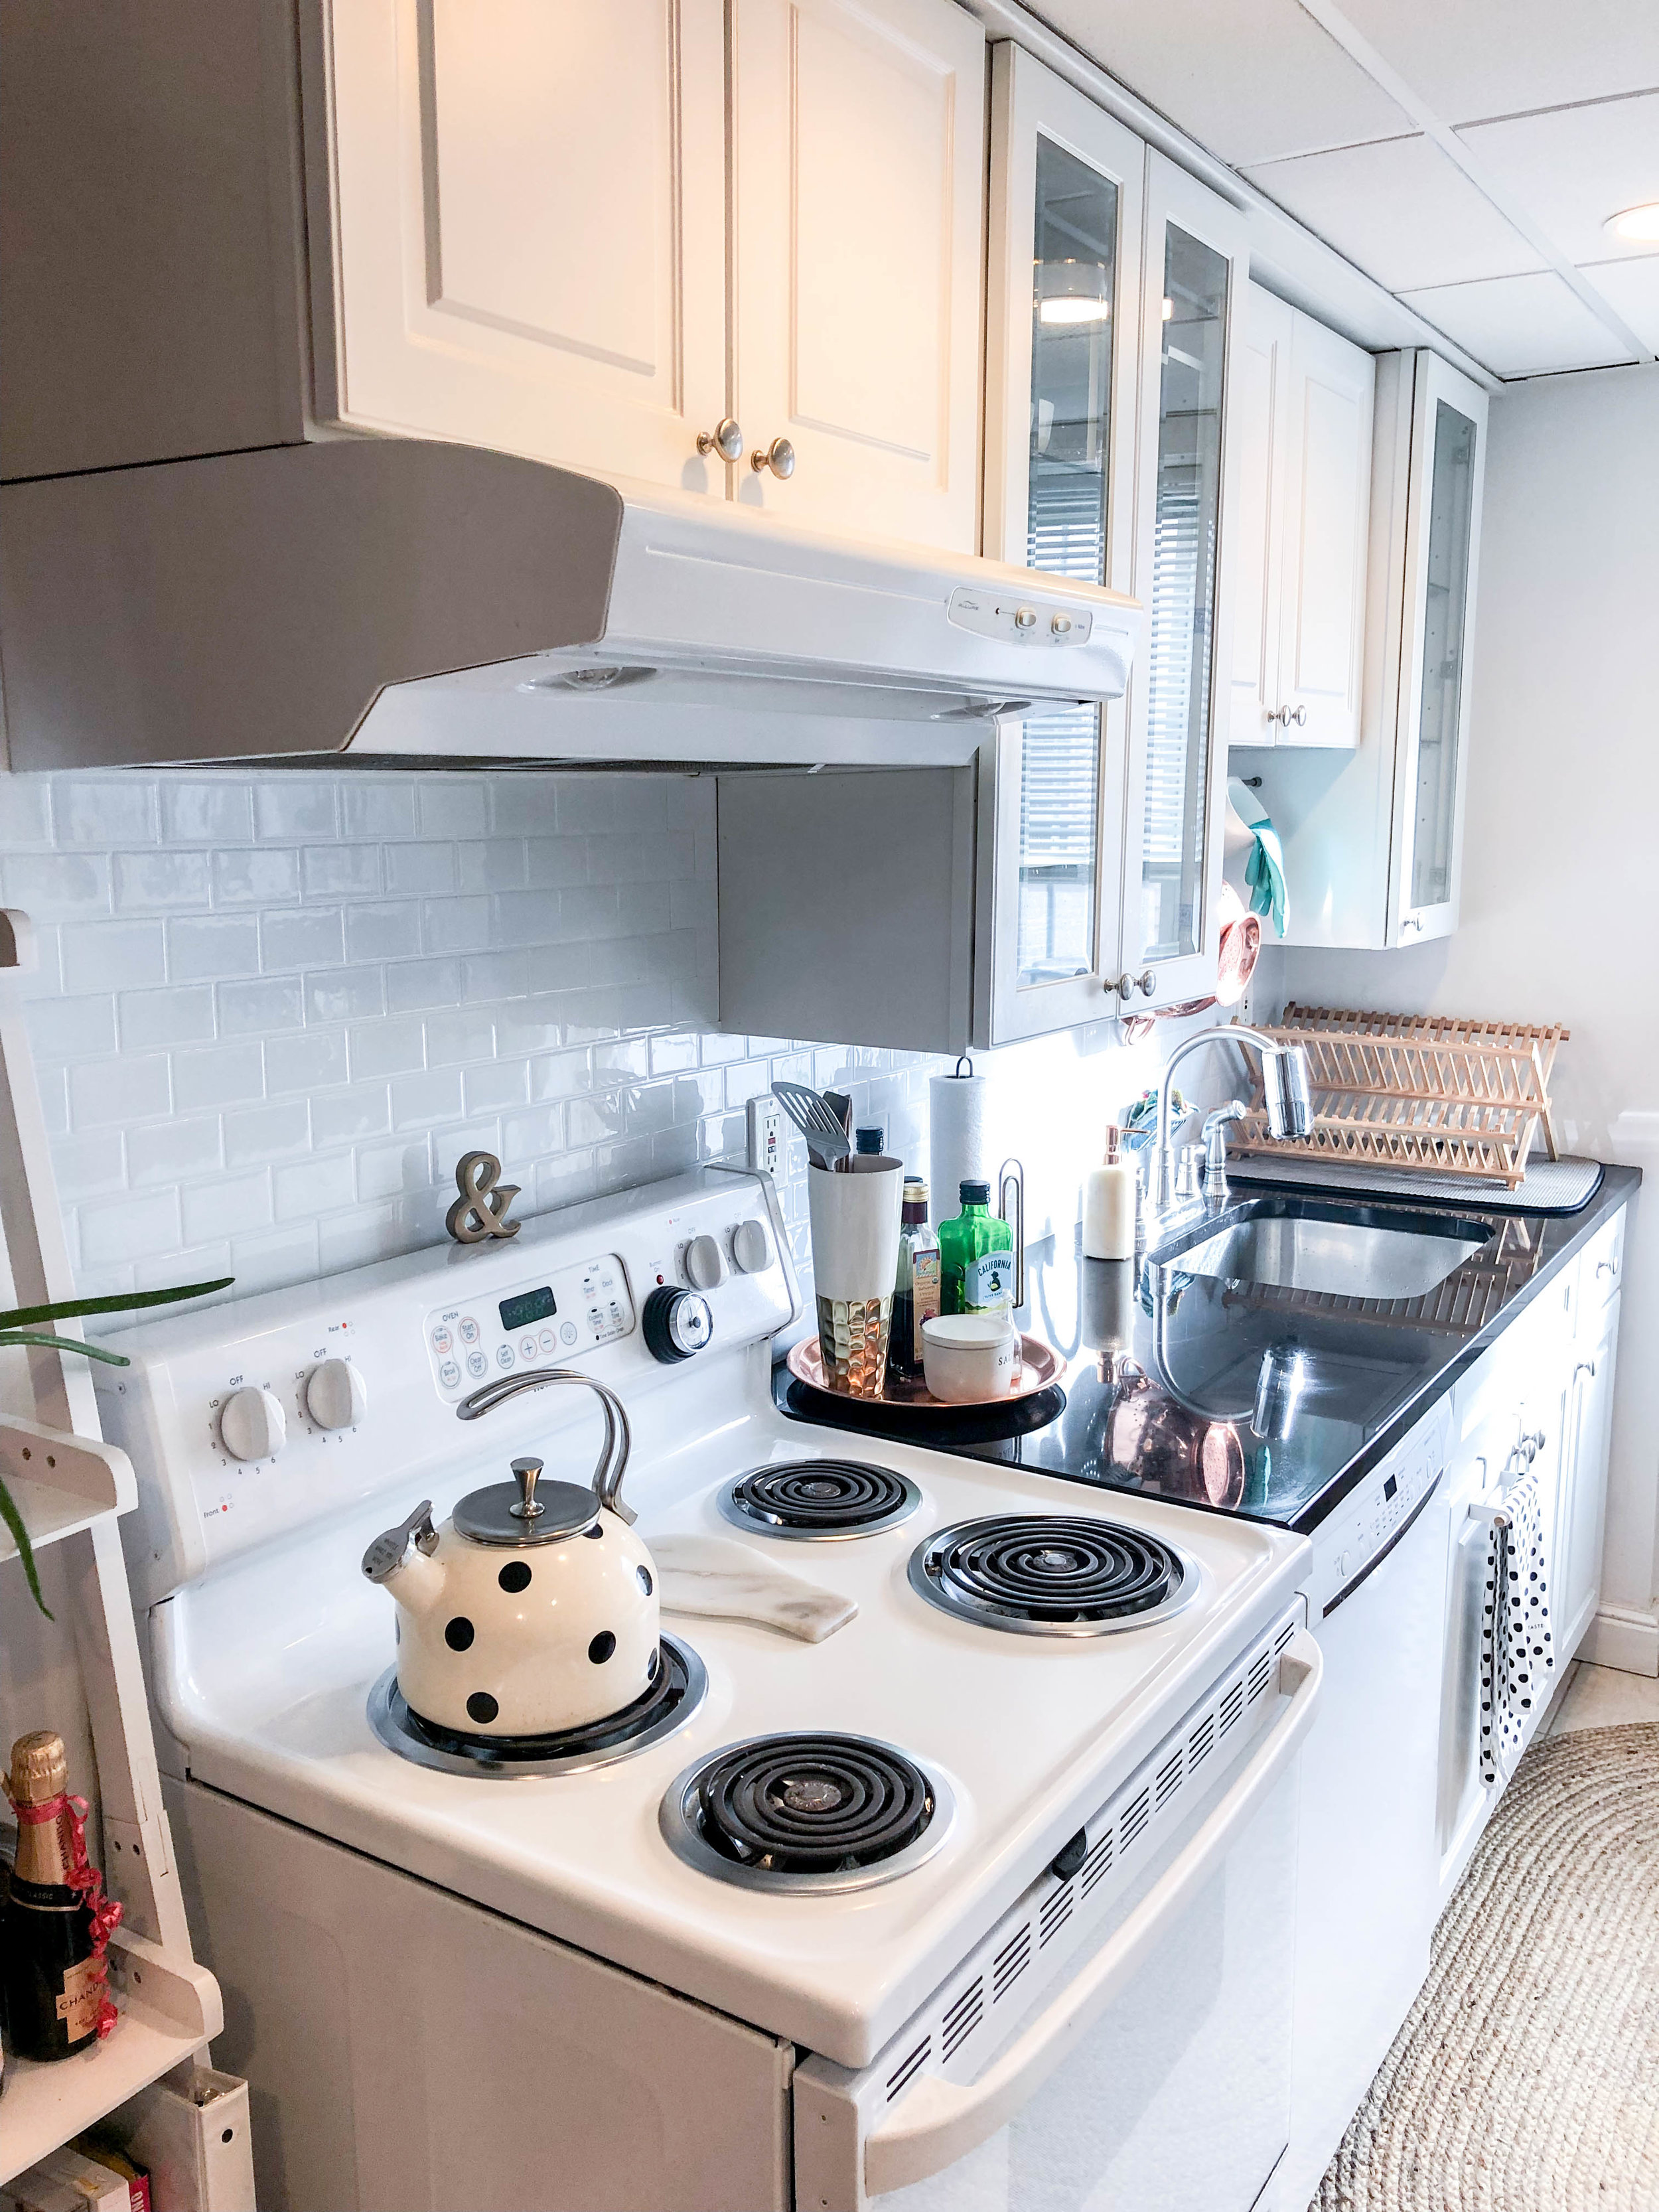
Before + After
Recommended Resources:

Step One:
Follow the directions on the package for how to pre-clean your walls and prep them for the adhesive stickers.
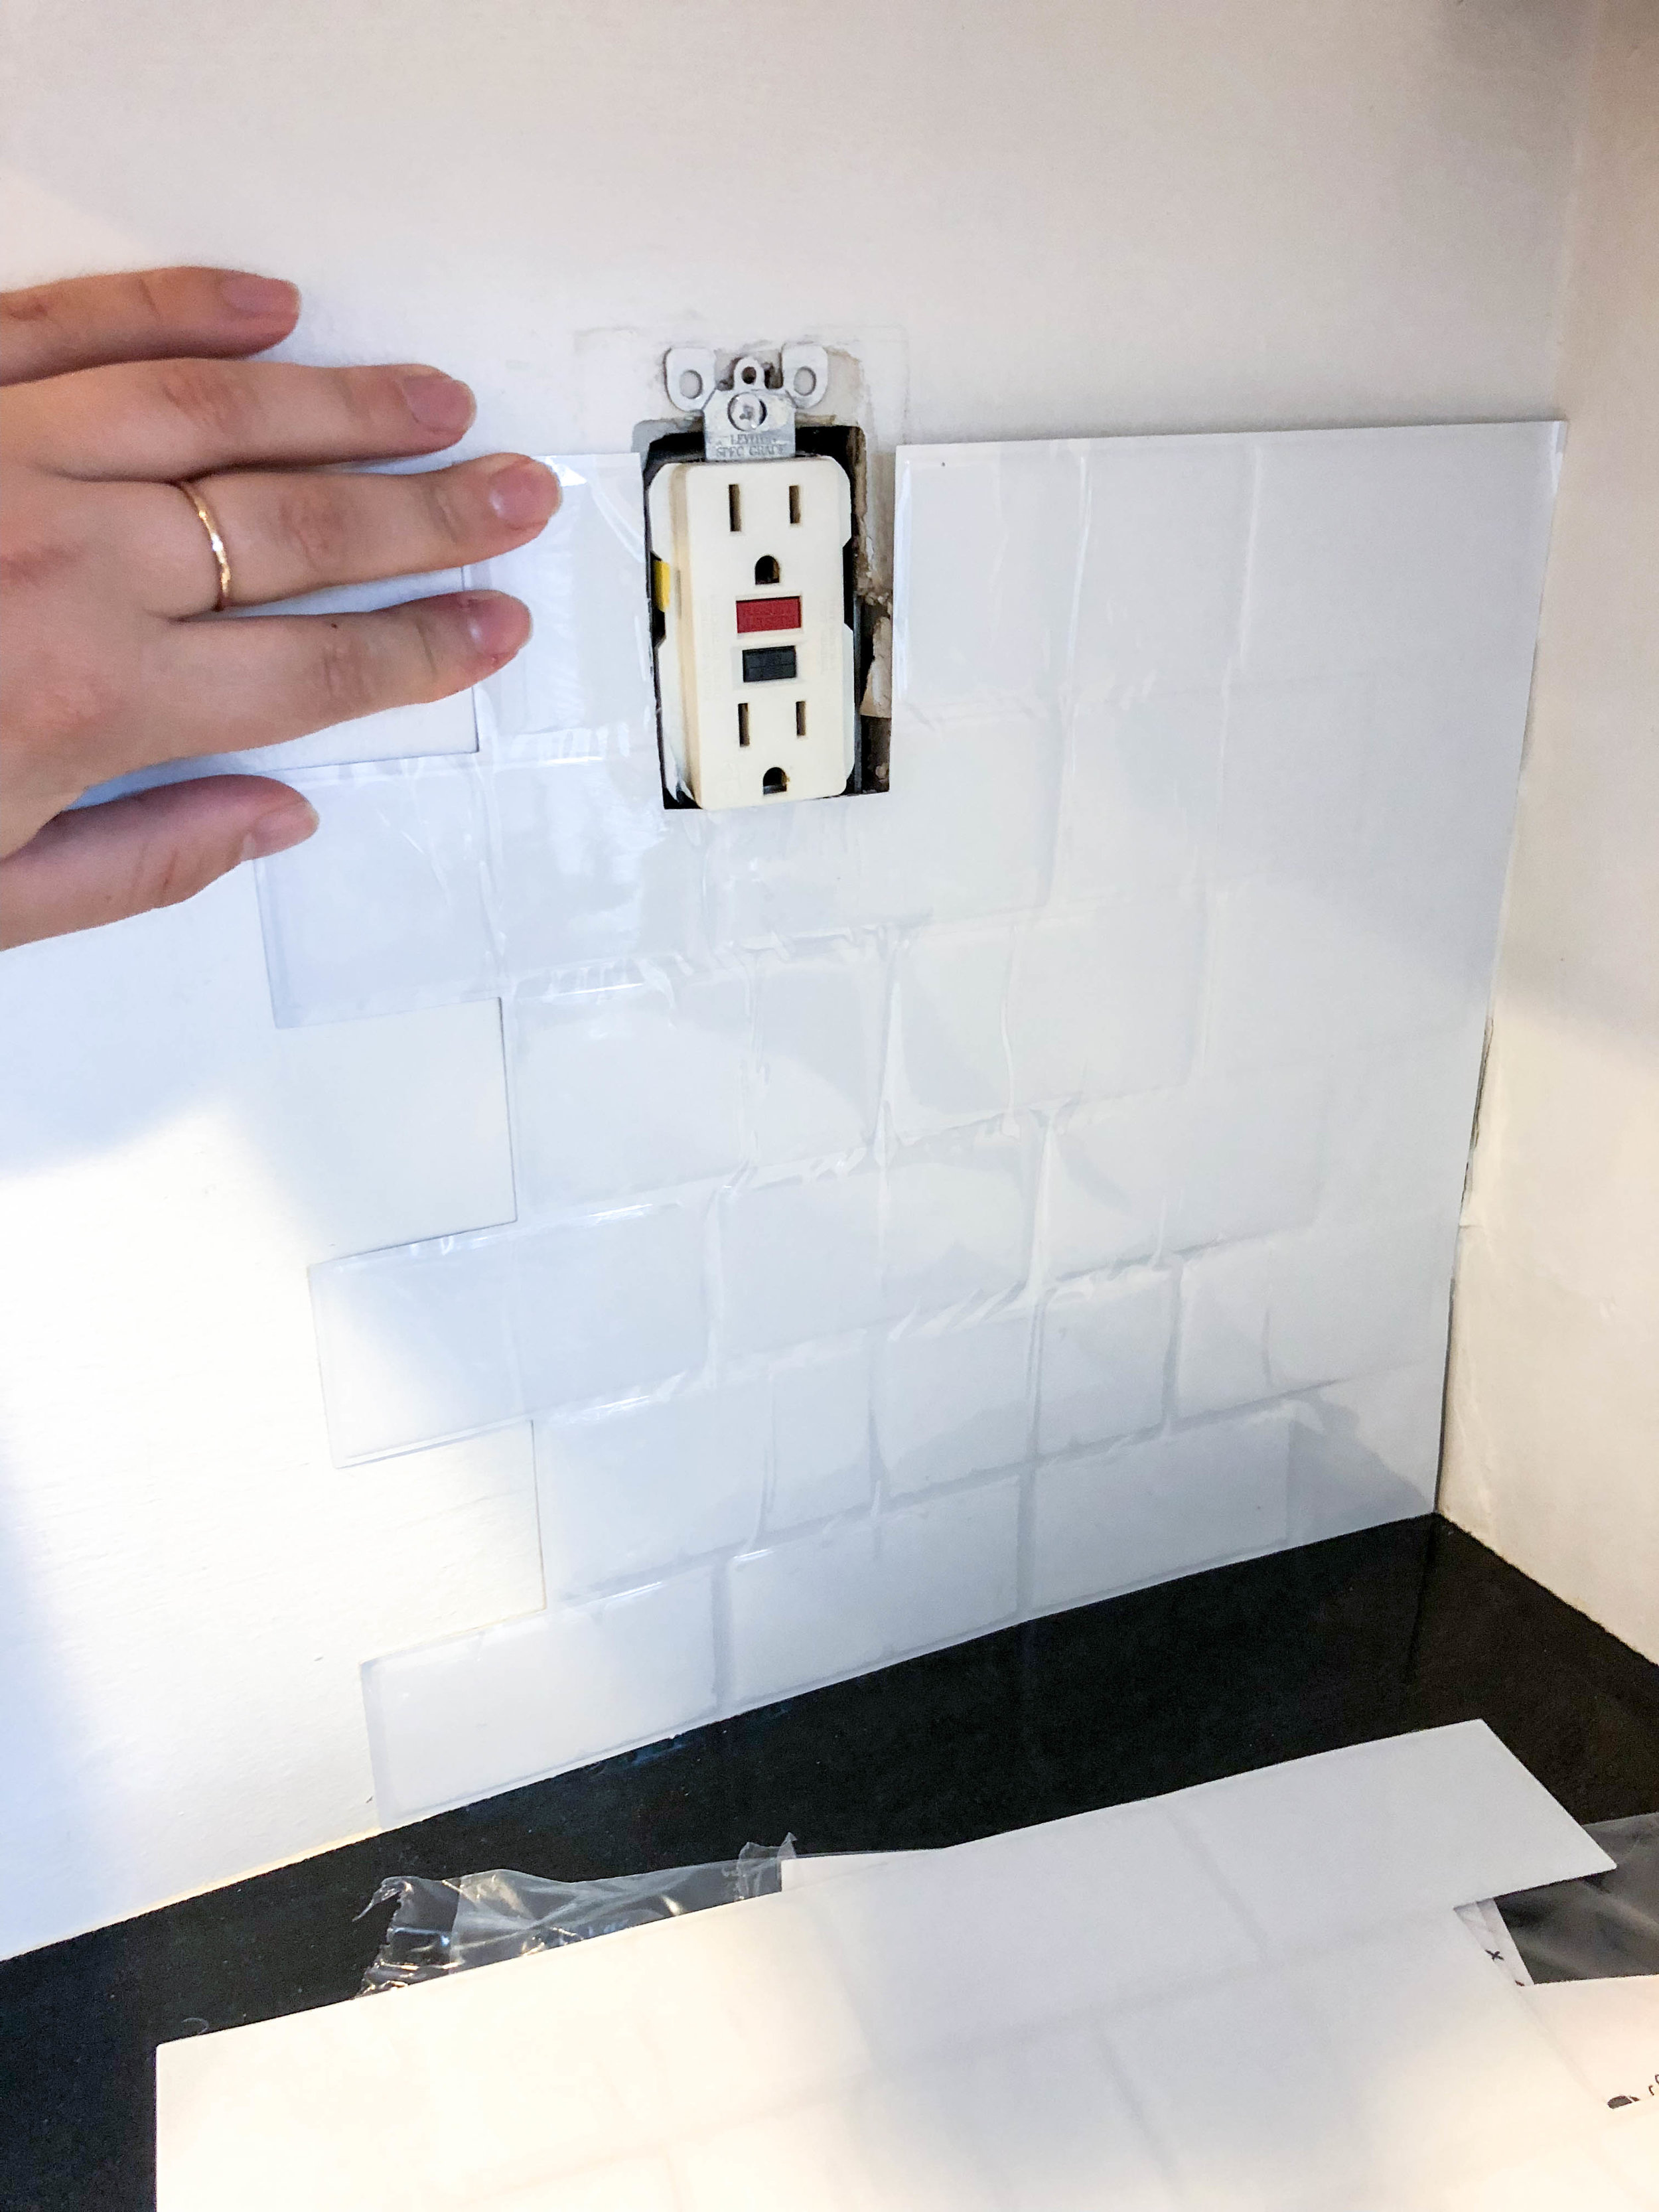
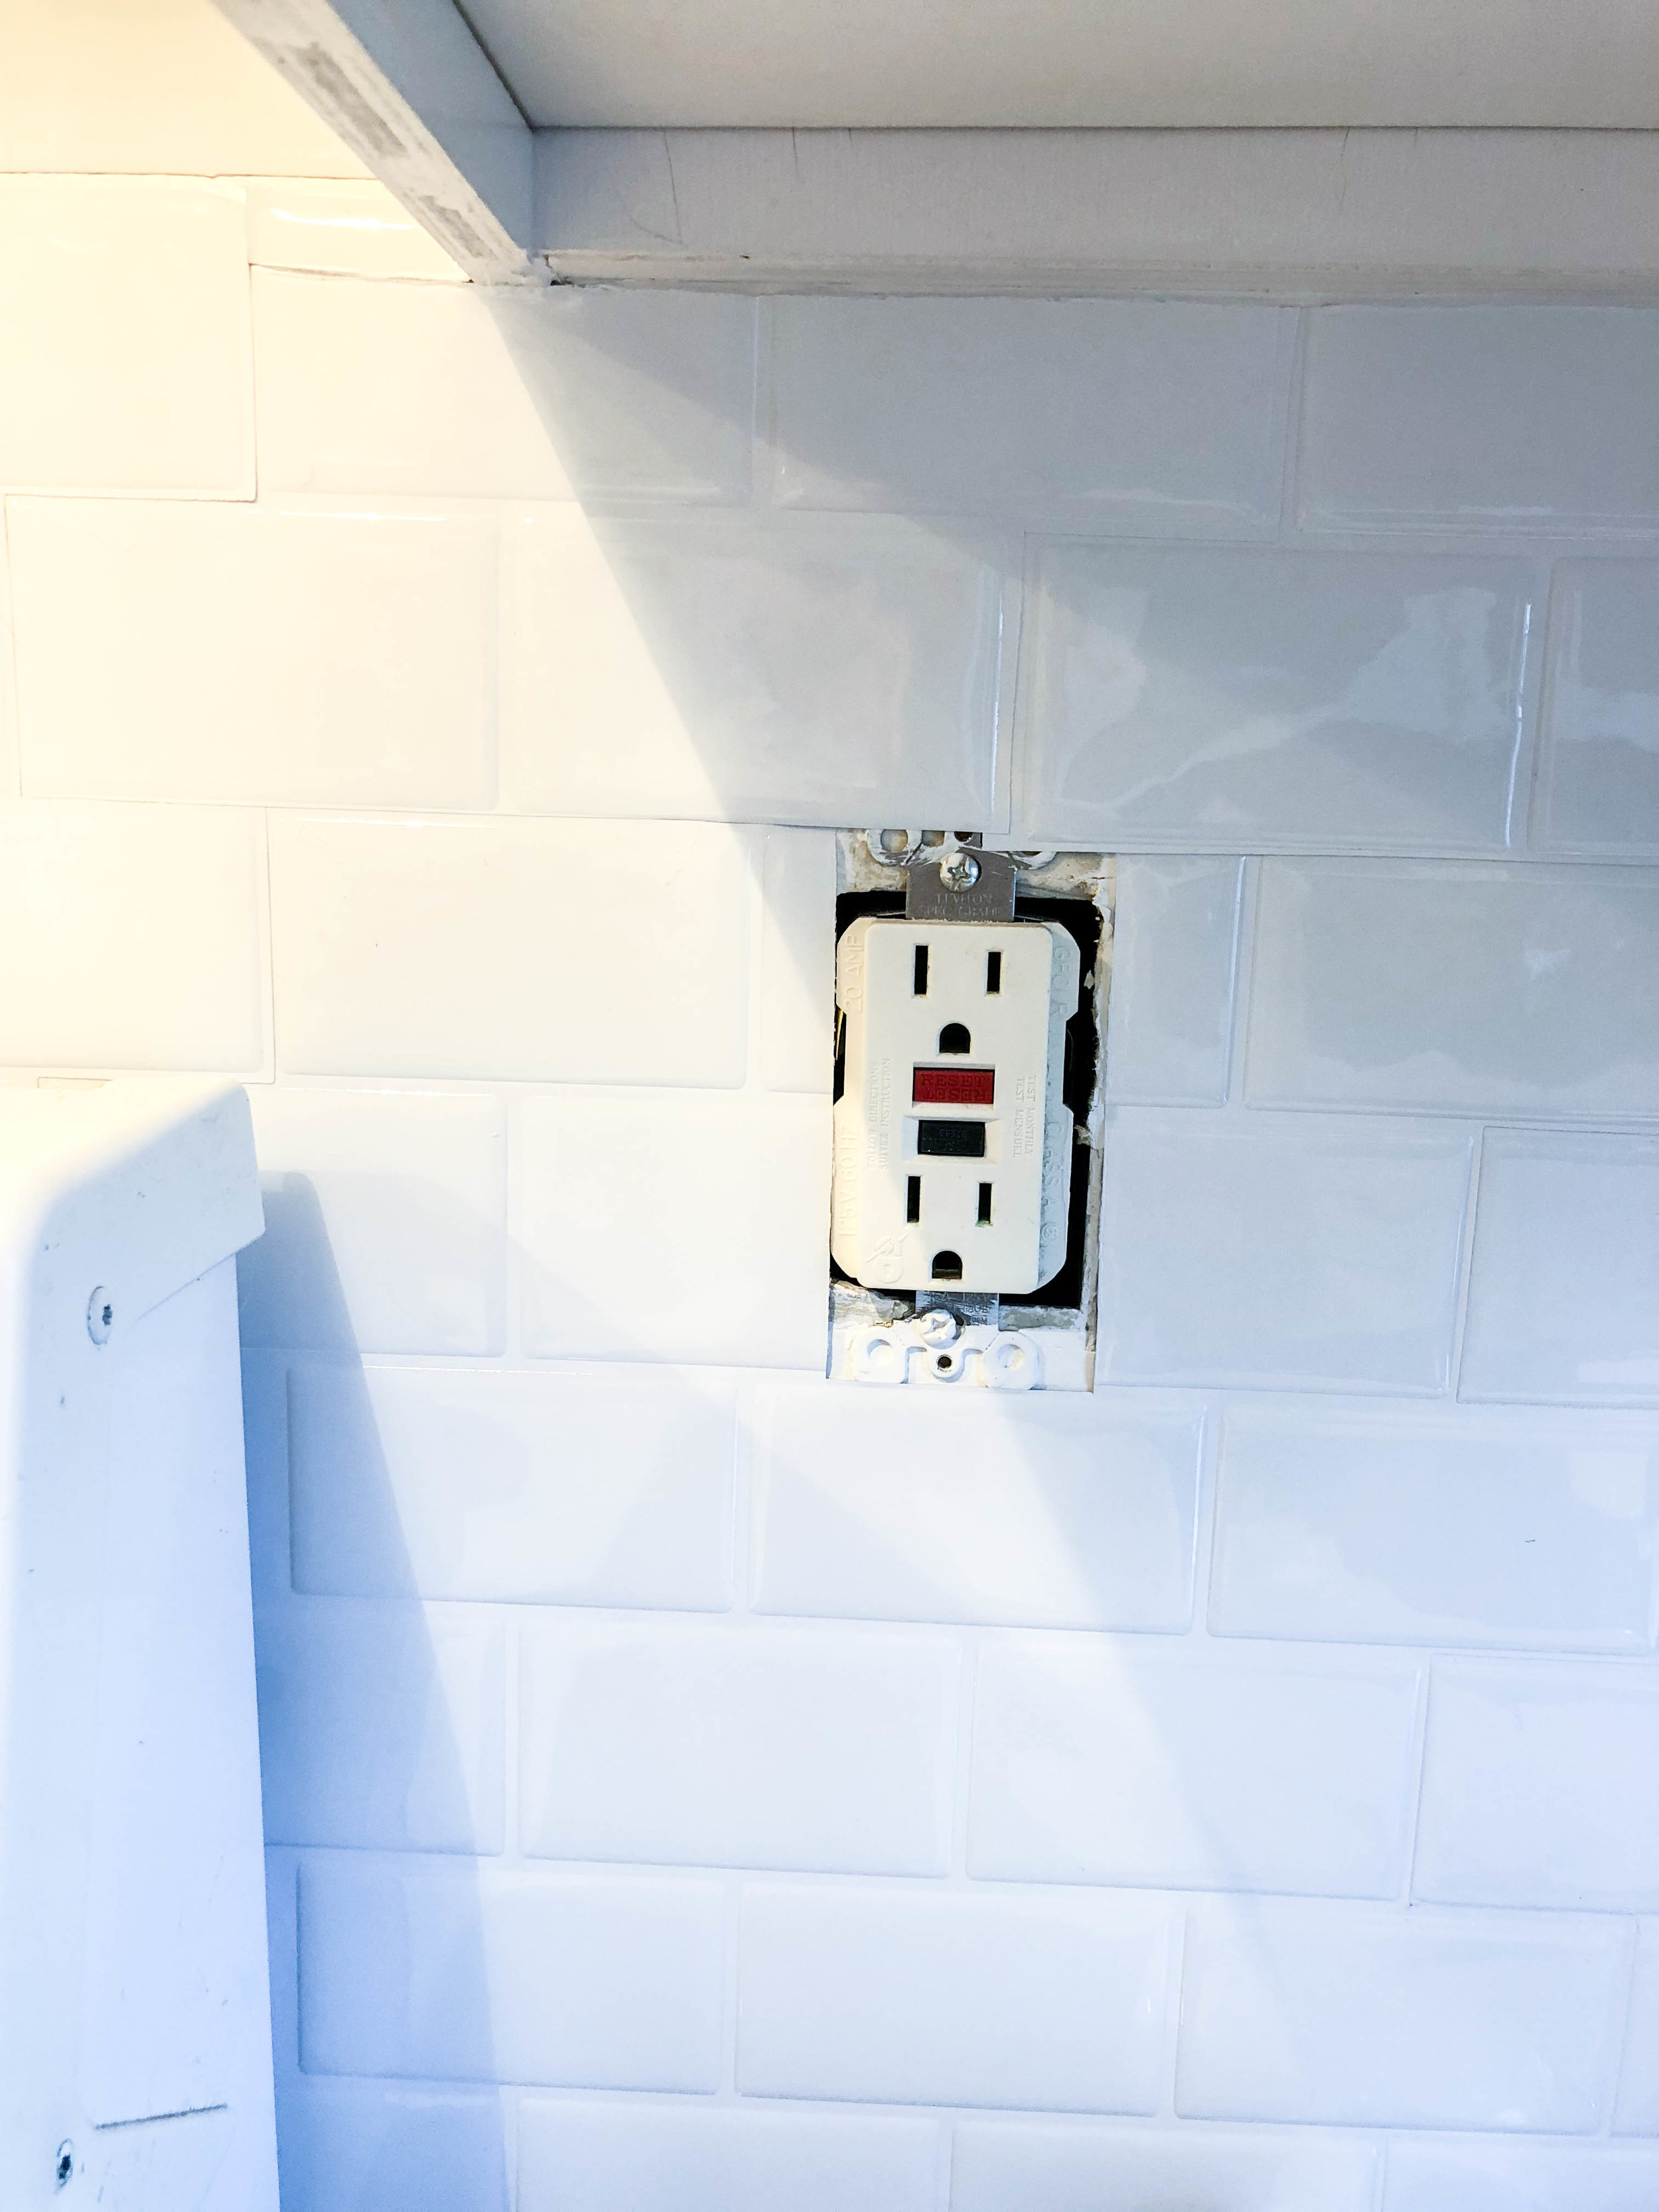
Remove your outlet covers.
Hold up the first sticker to measure and cut around the outlet placements before sticking to the wall.
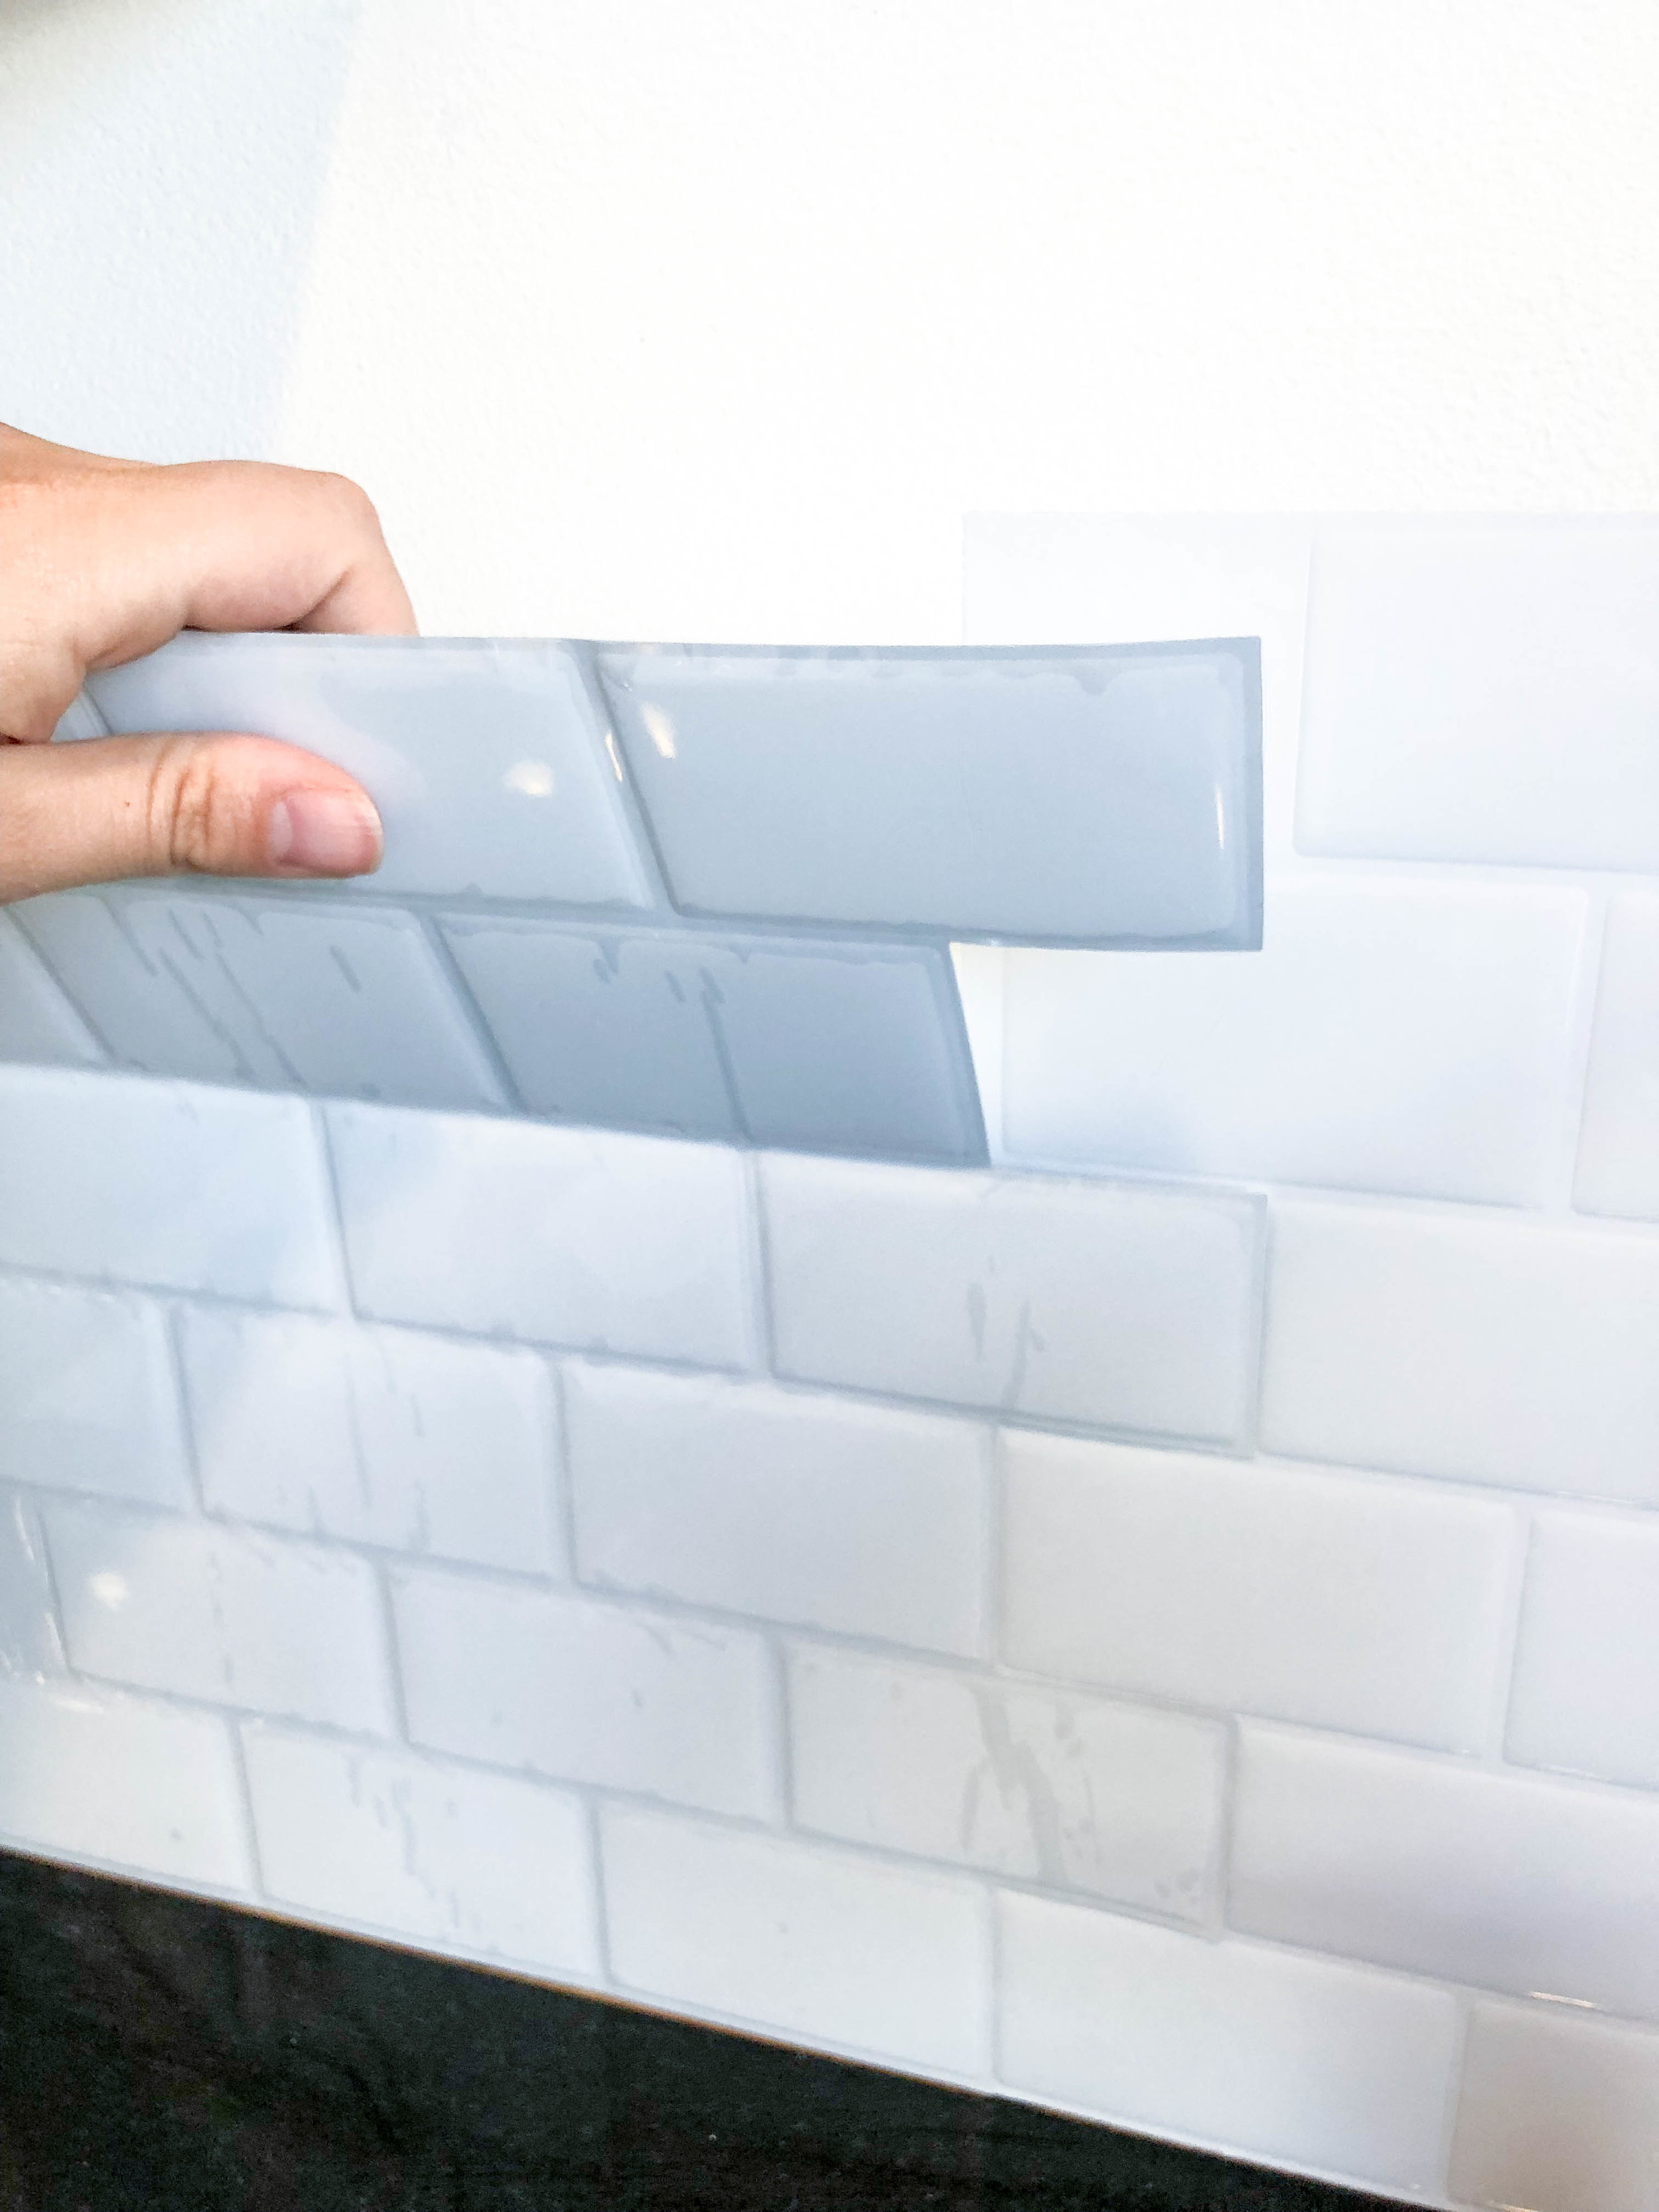
Each sticker has an overlap and an underlap side.
Starting with the first one, you’ll want to trim off the overlap to be flush to the corner.
Stept Two:
Following after your first sticker placement in the starting corner, continue placing the next stickers, overlapping the edges to get a seamless finish. This takes a little trial and error so I recommend laying out the tiles in order before adhering to the wall. It also helps to stick them starting at the bottom edge and press up to the top of the sticker, so you are sure to be flush to the countertop seam.
View fullsize
Step Three:
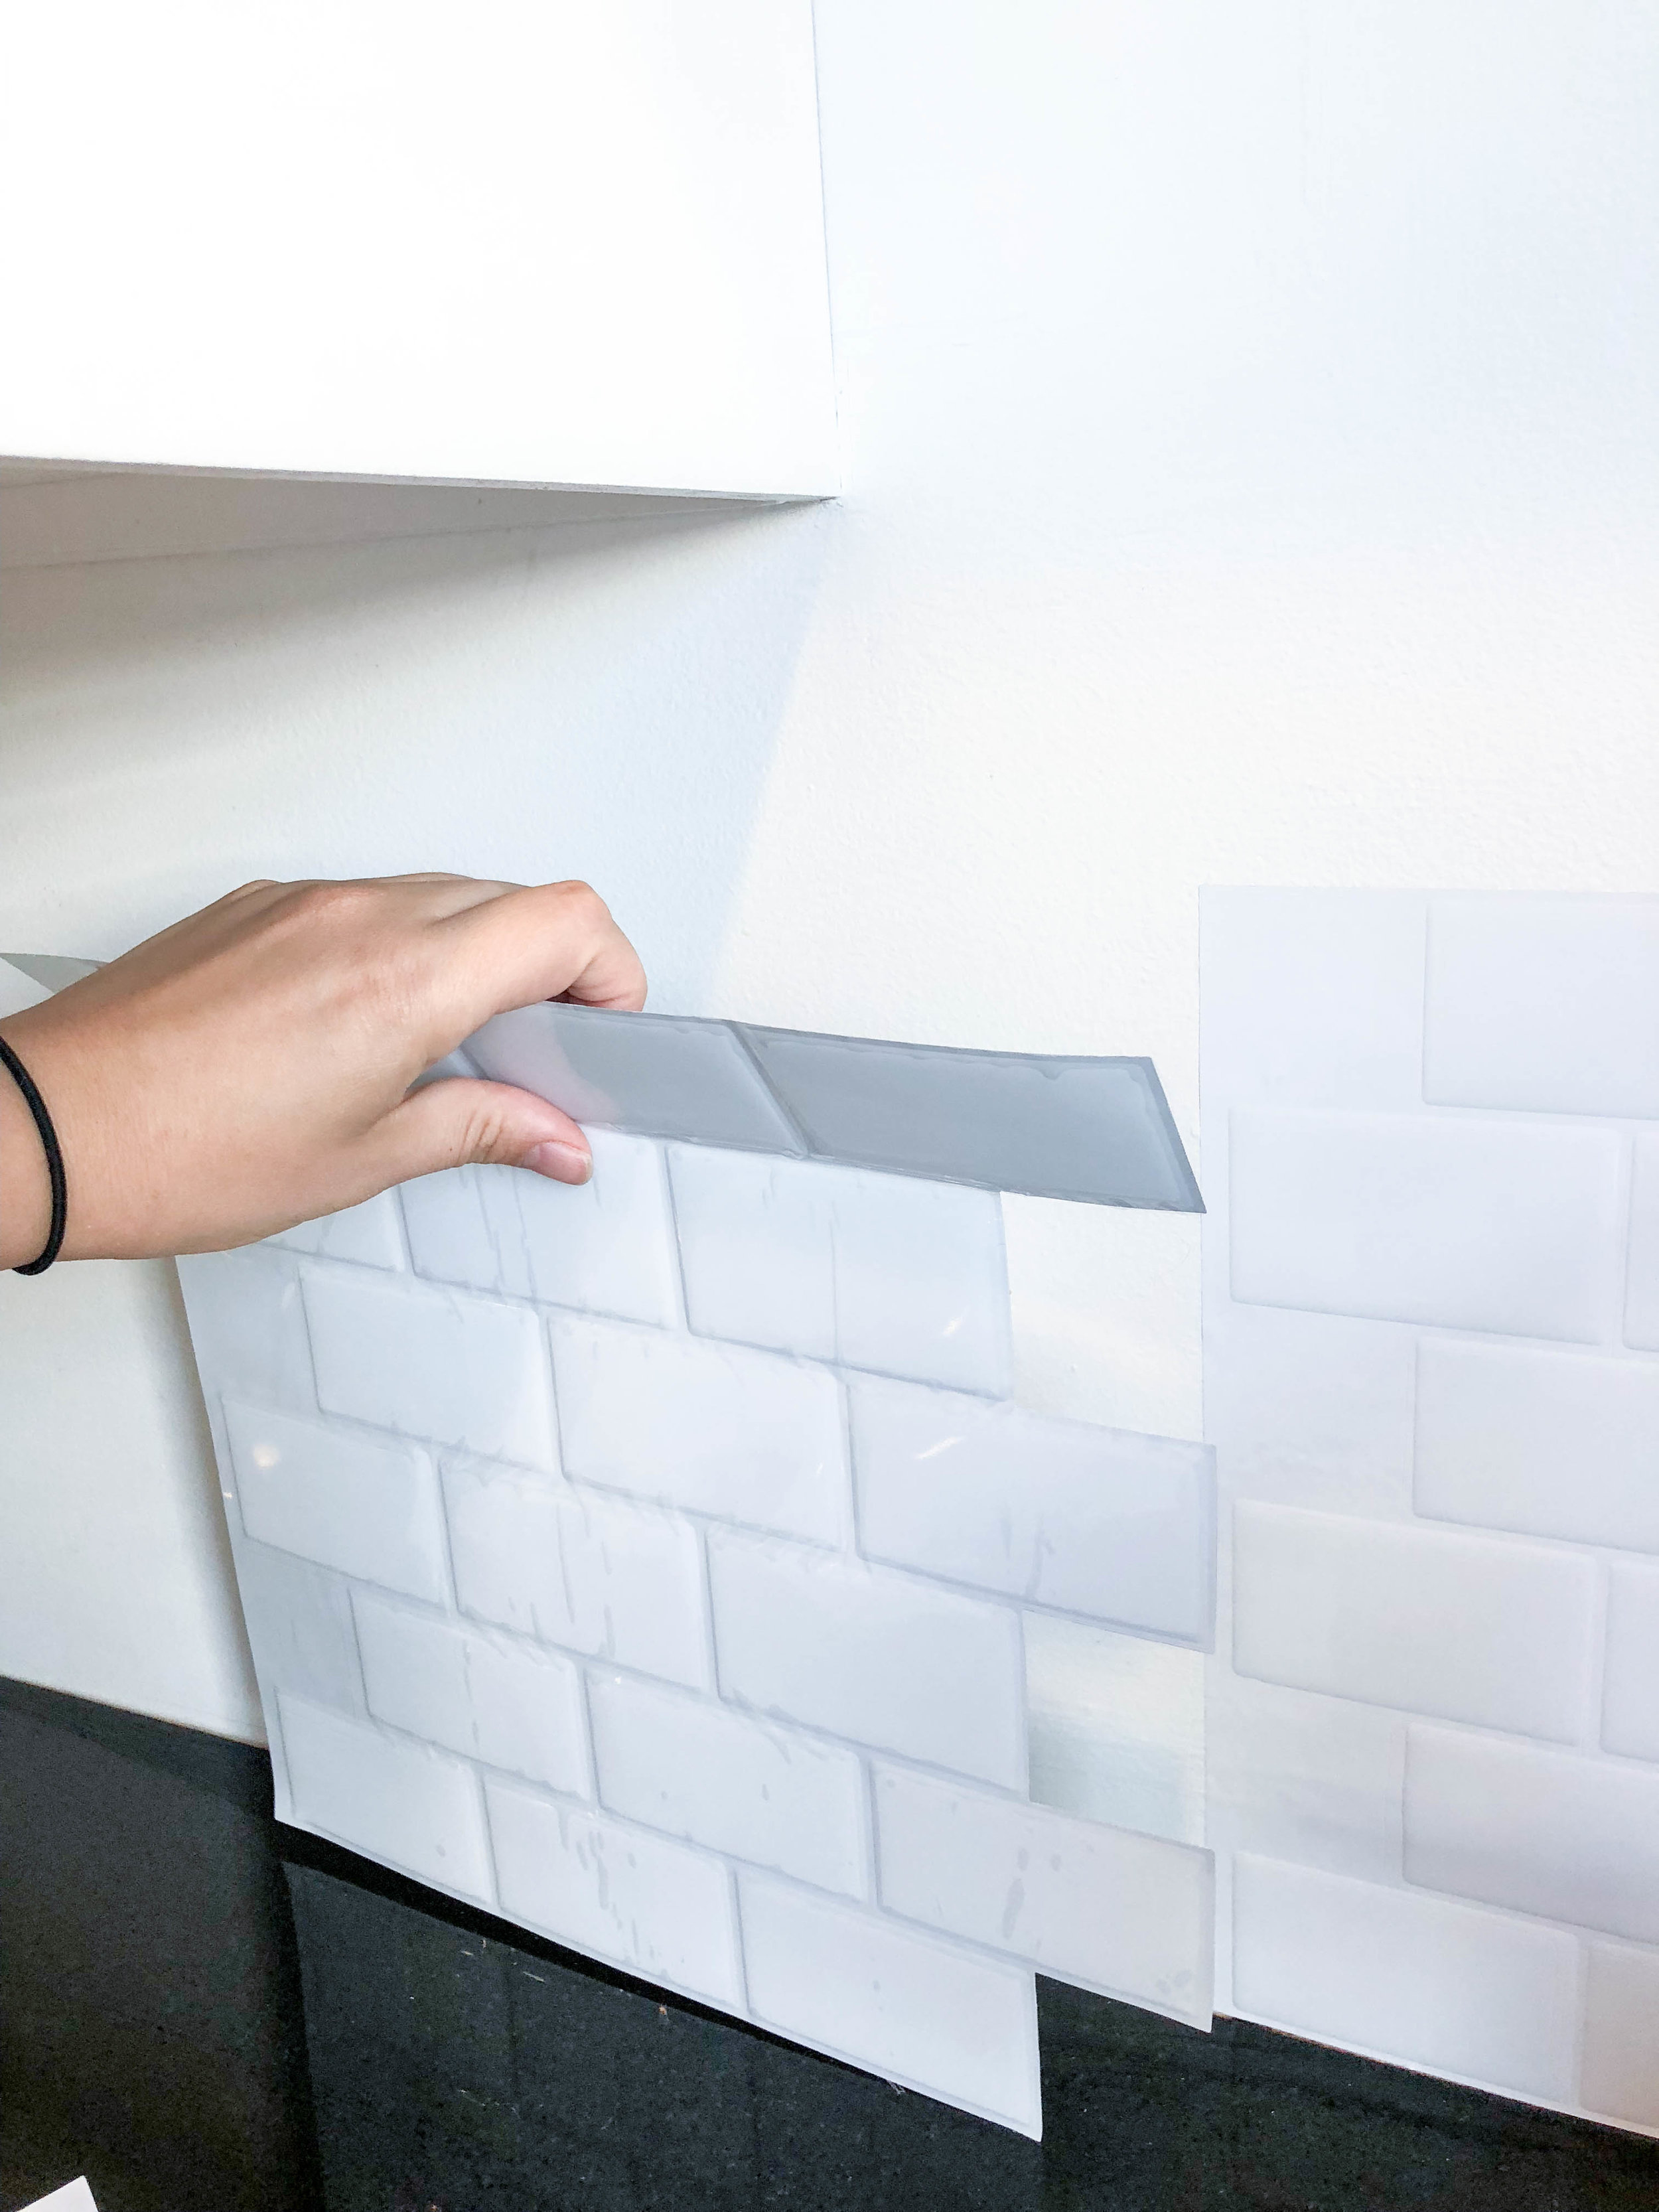
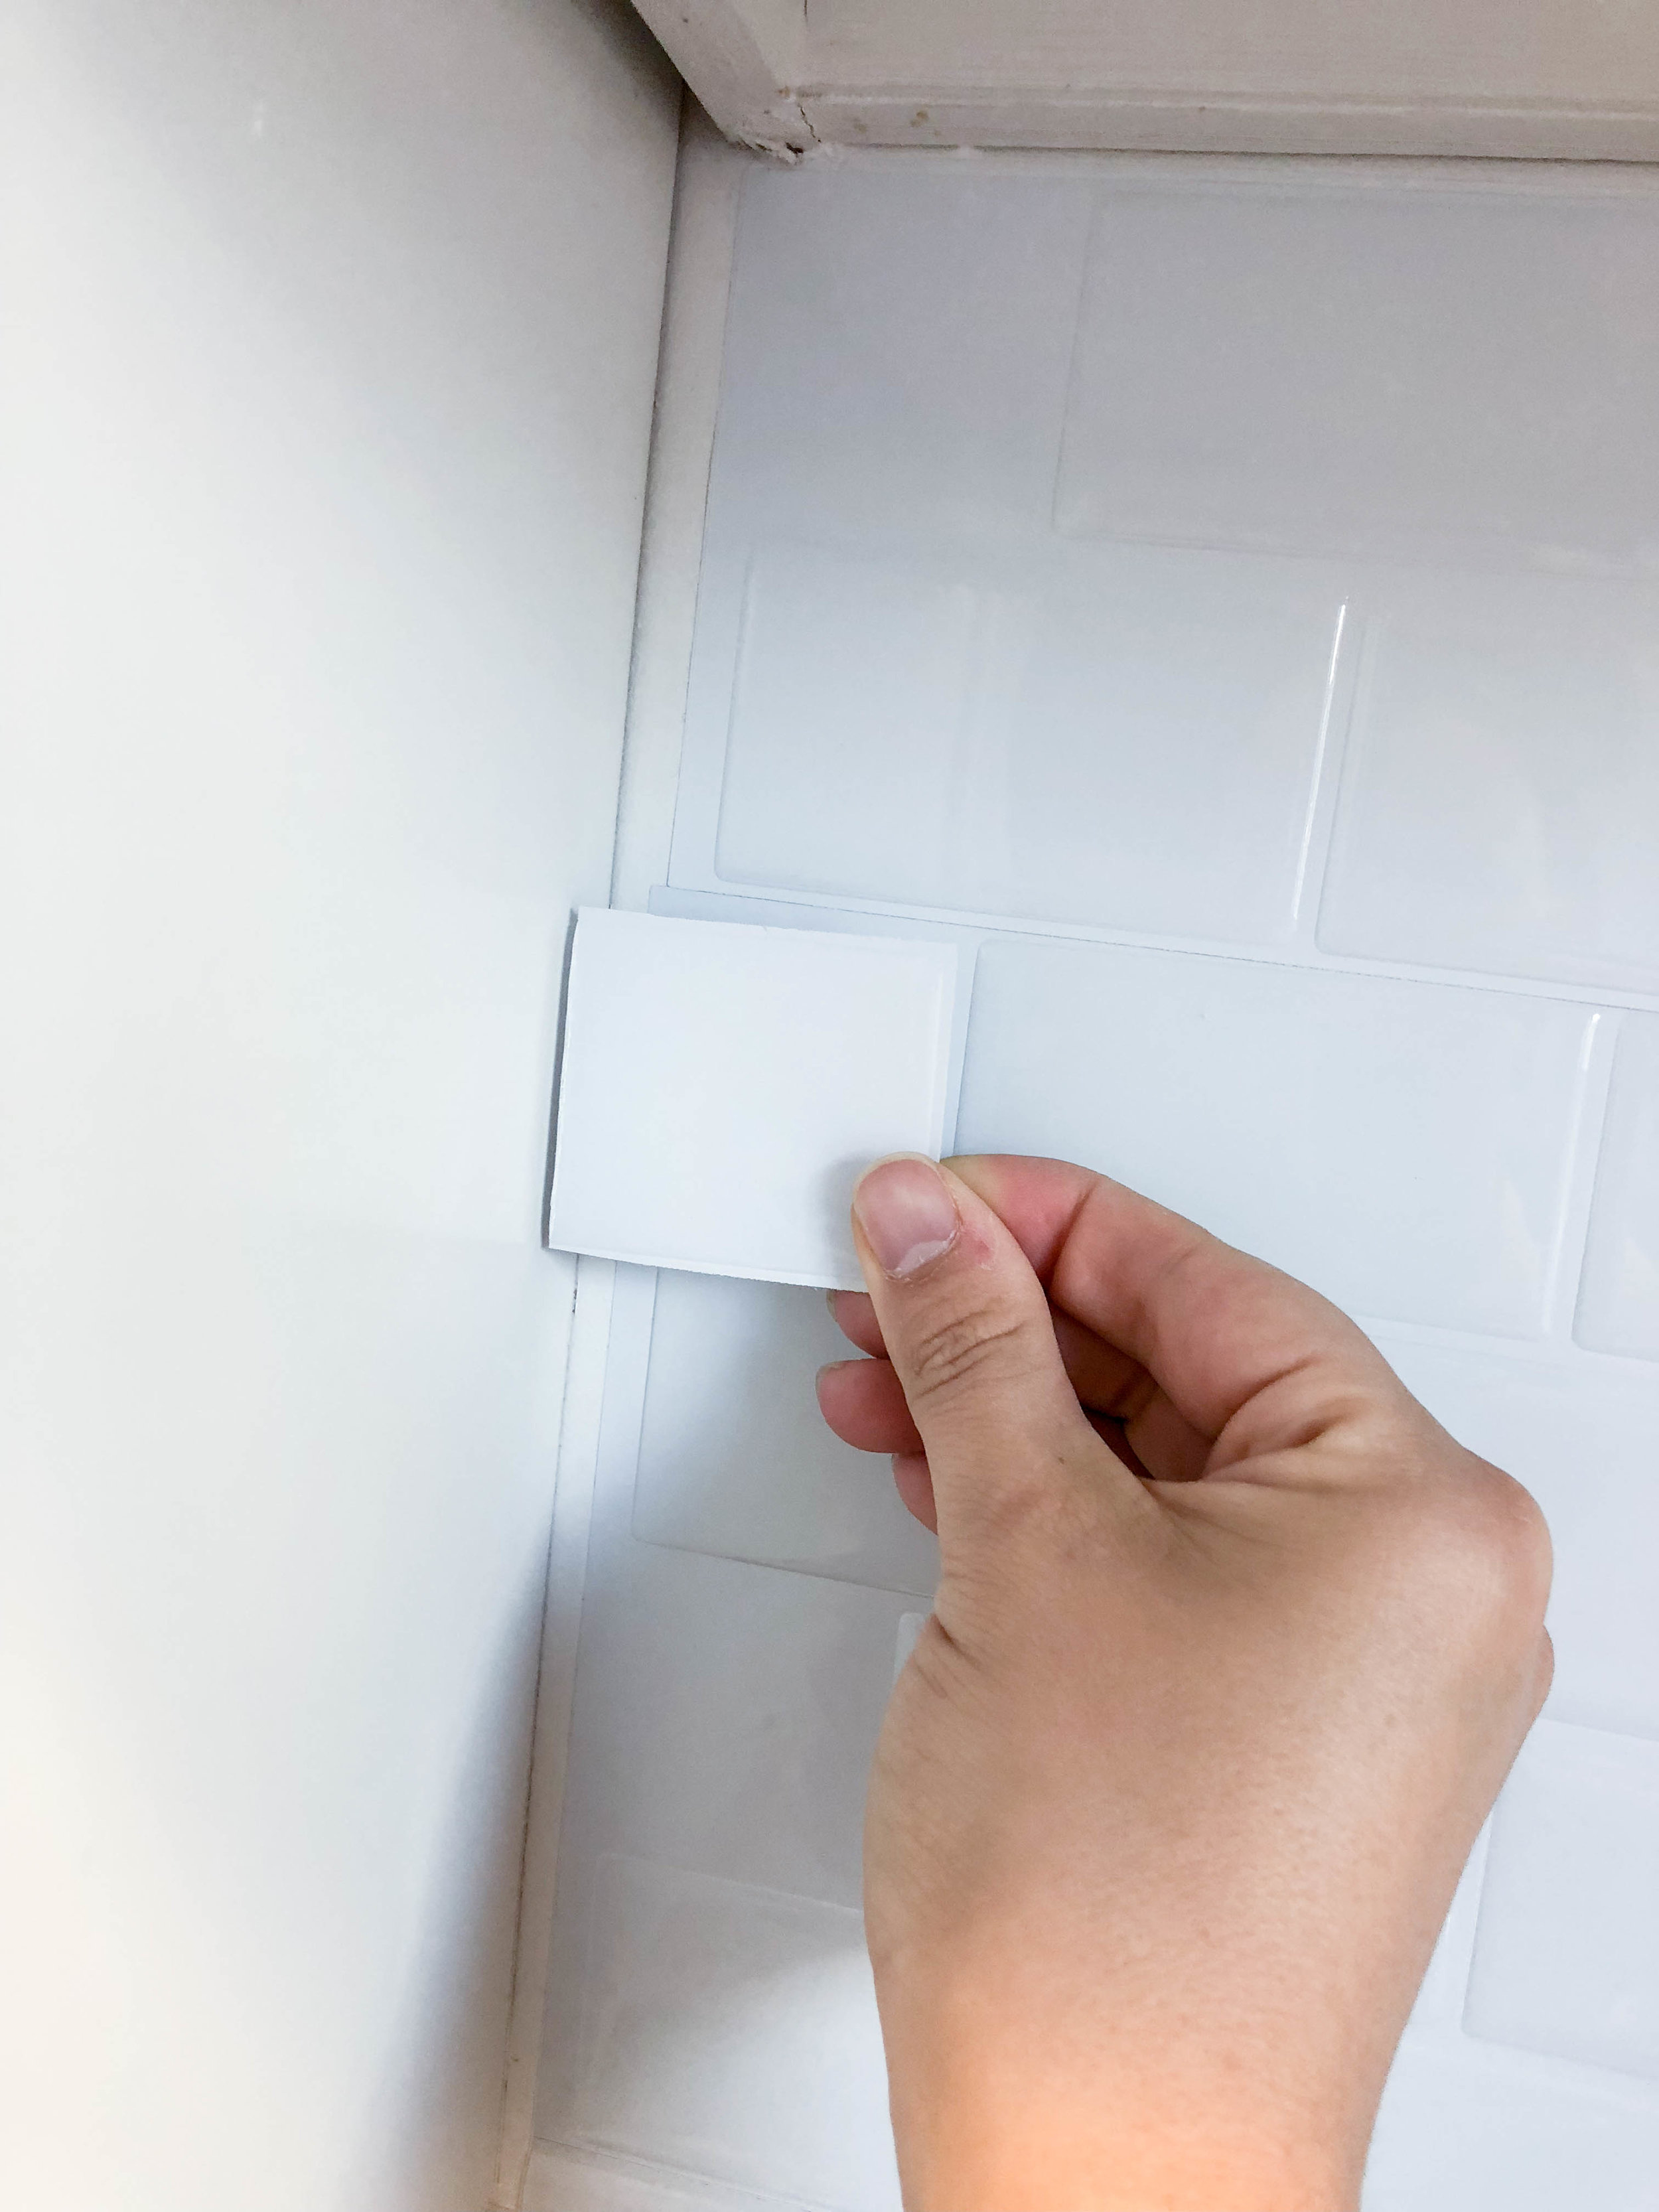
Once you’ve completed the first row across the bottom edge, start with the second row and work your way up until you reach the bottom of your upper cabinets. You may need to trim excess rows of tile but be sure to save these scraps - they’ll come in handy later!
View fullsize
View fullsize
Step Four:
When you’ve filled the wall with stickers, you’ll notice the overlaps will have left some gaps along some cabinet edges. use the scraps you saved to cut custom sized pieces to fill those gaps. It may look a little janky up close, but will be entirely unnoticeable once it’s complete - I promise!
View fullsize
View fullsize

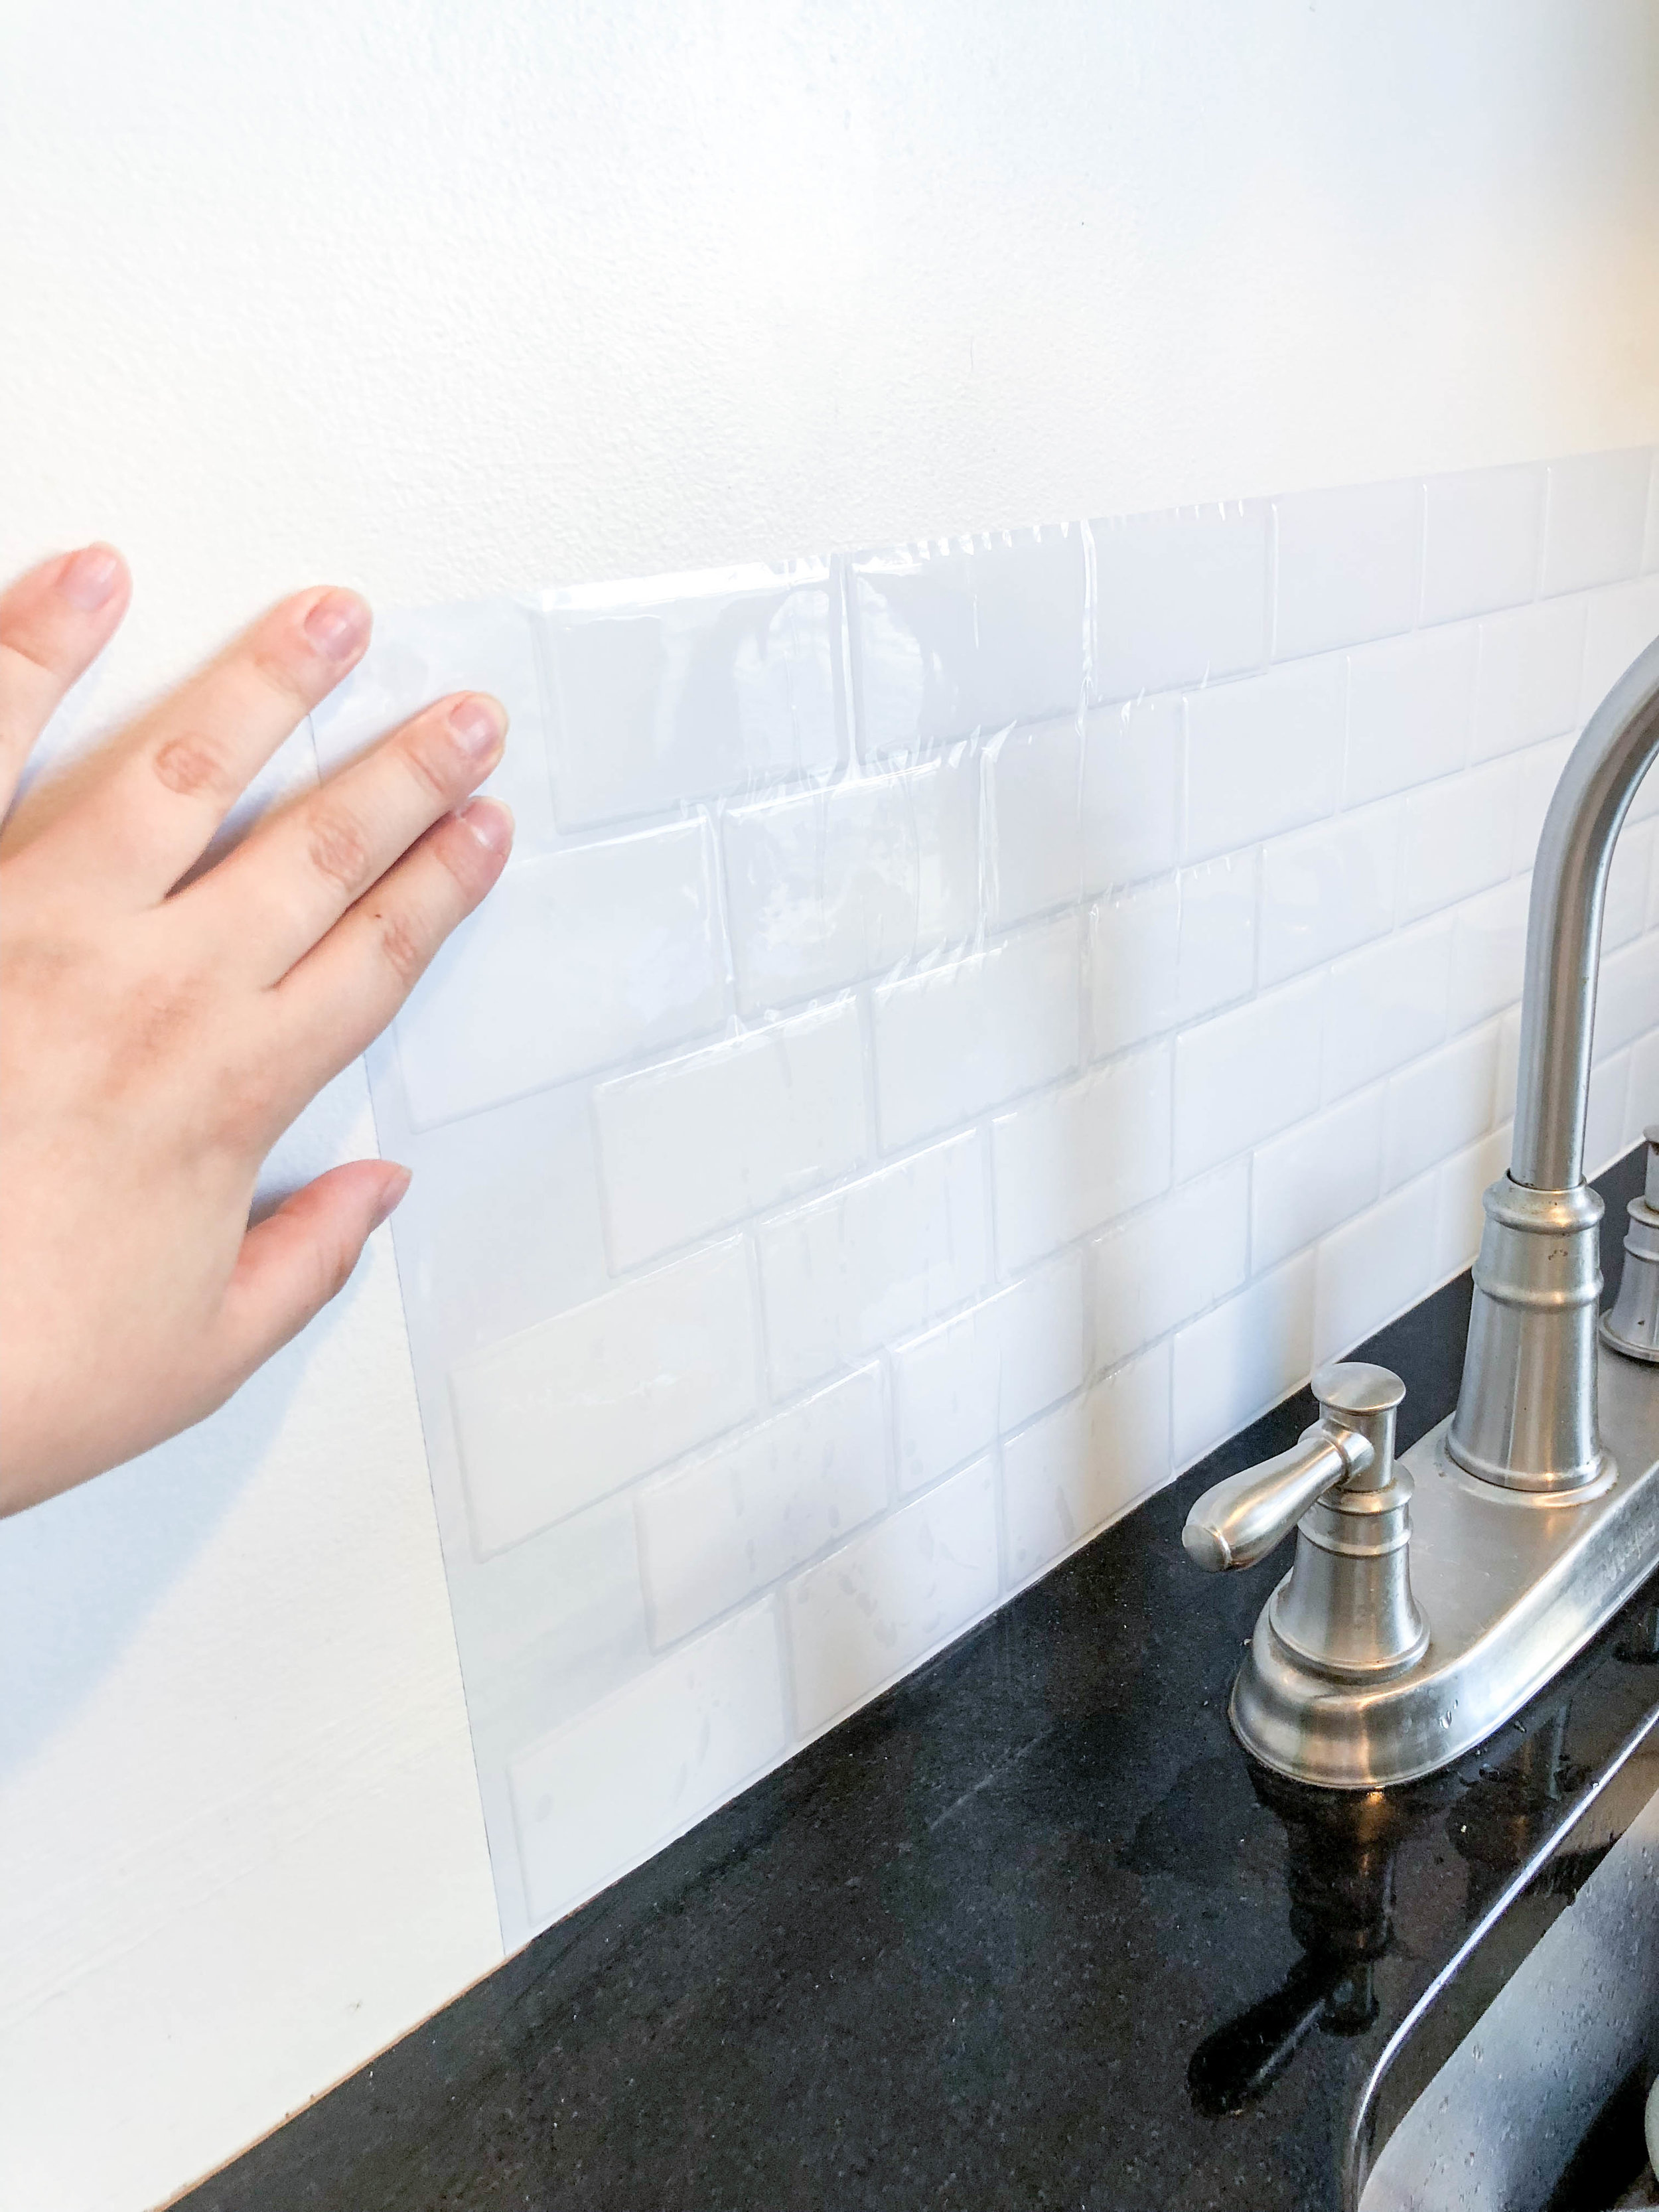
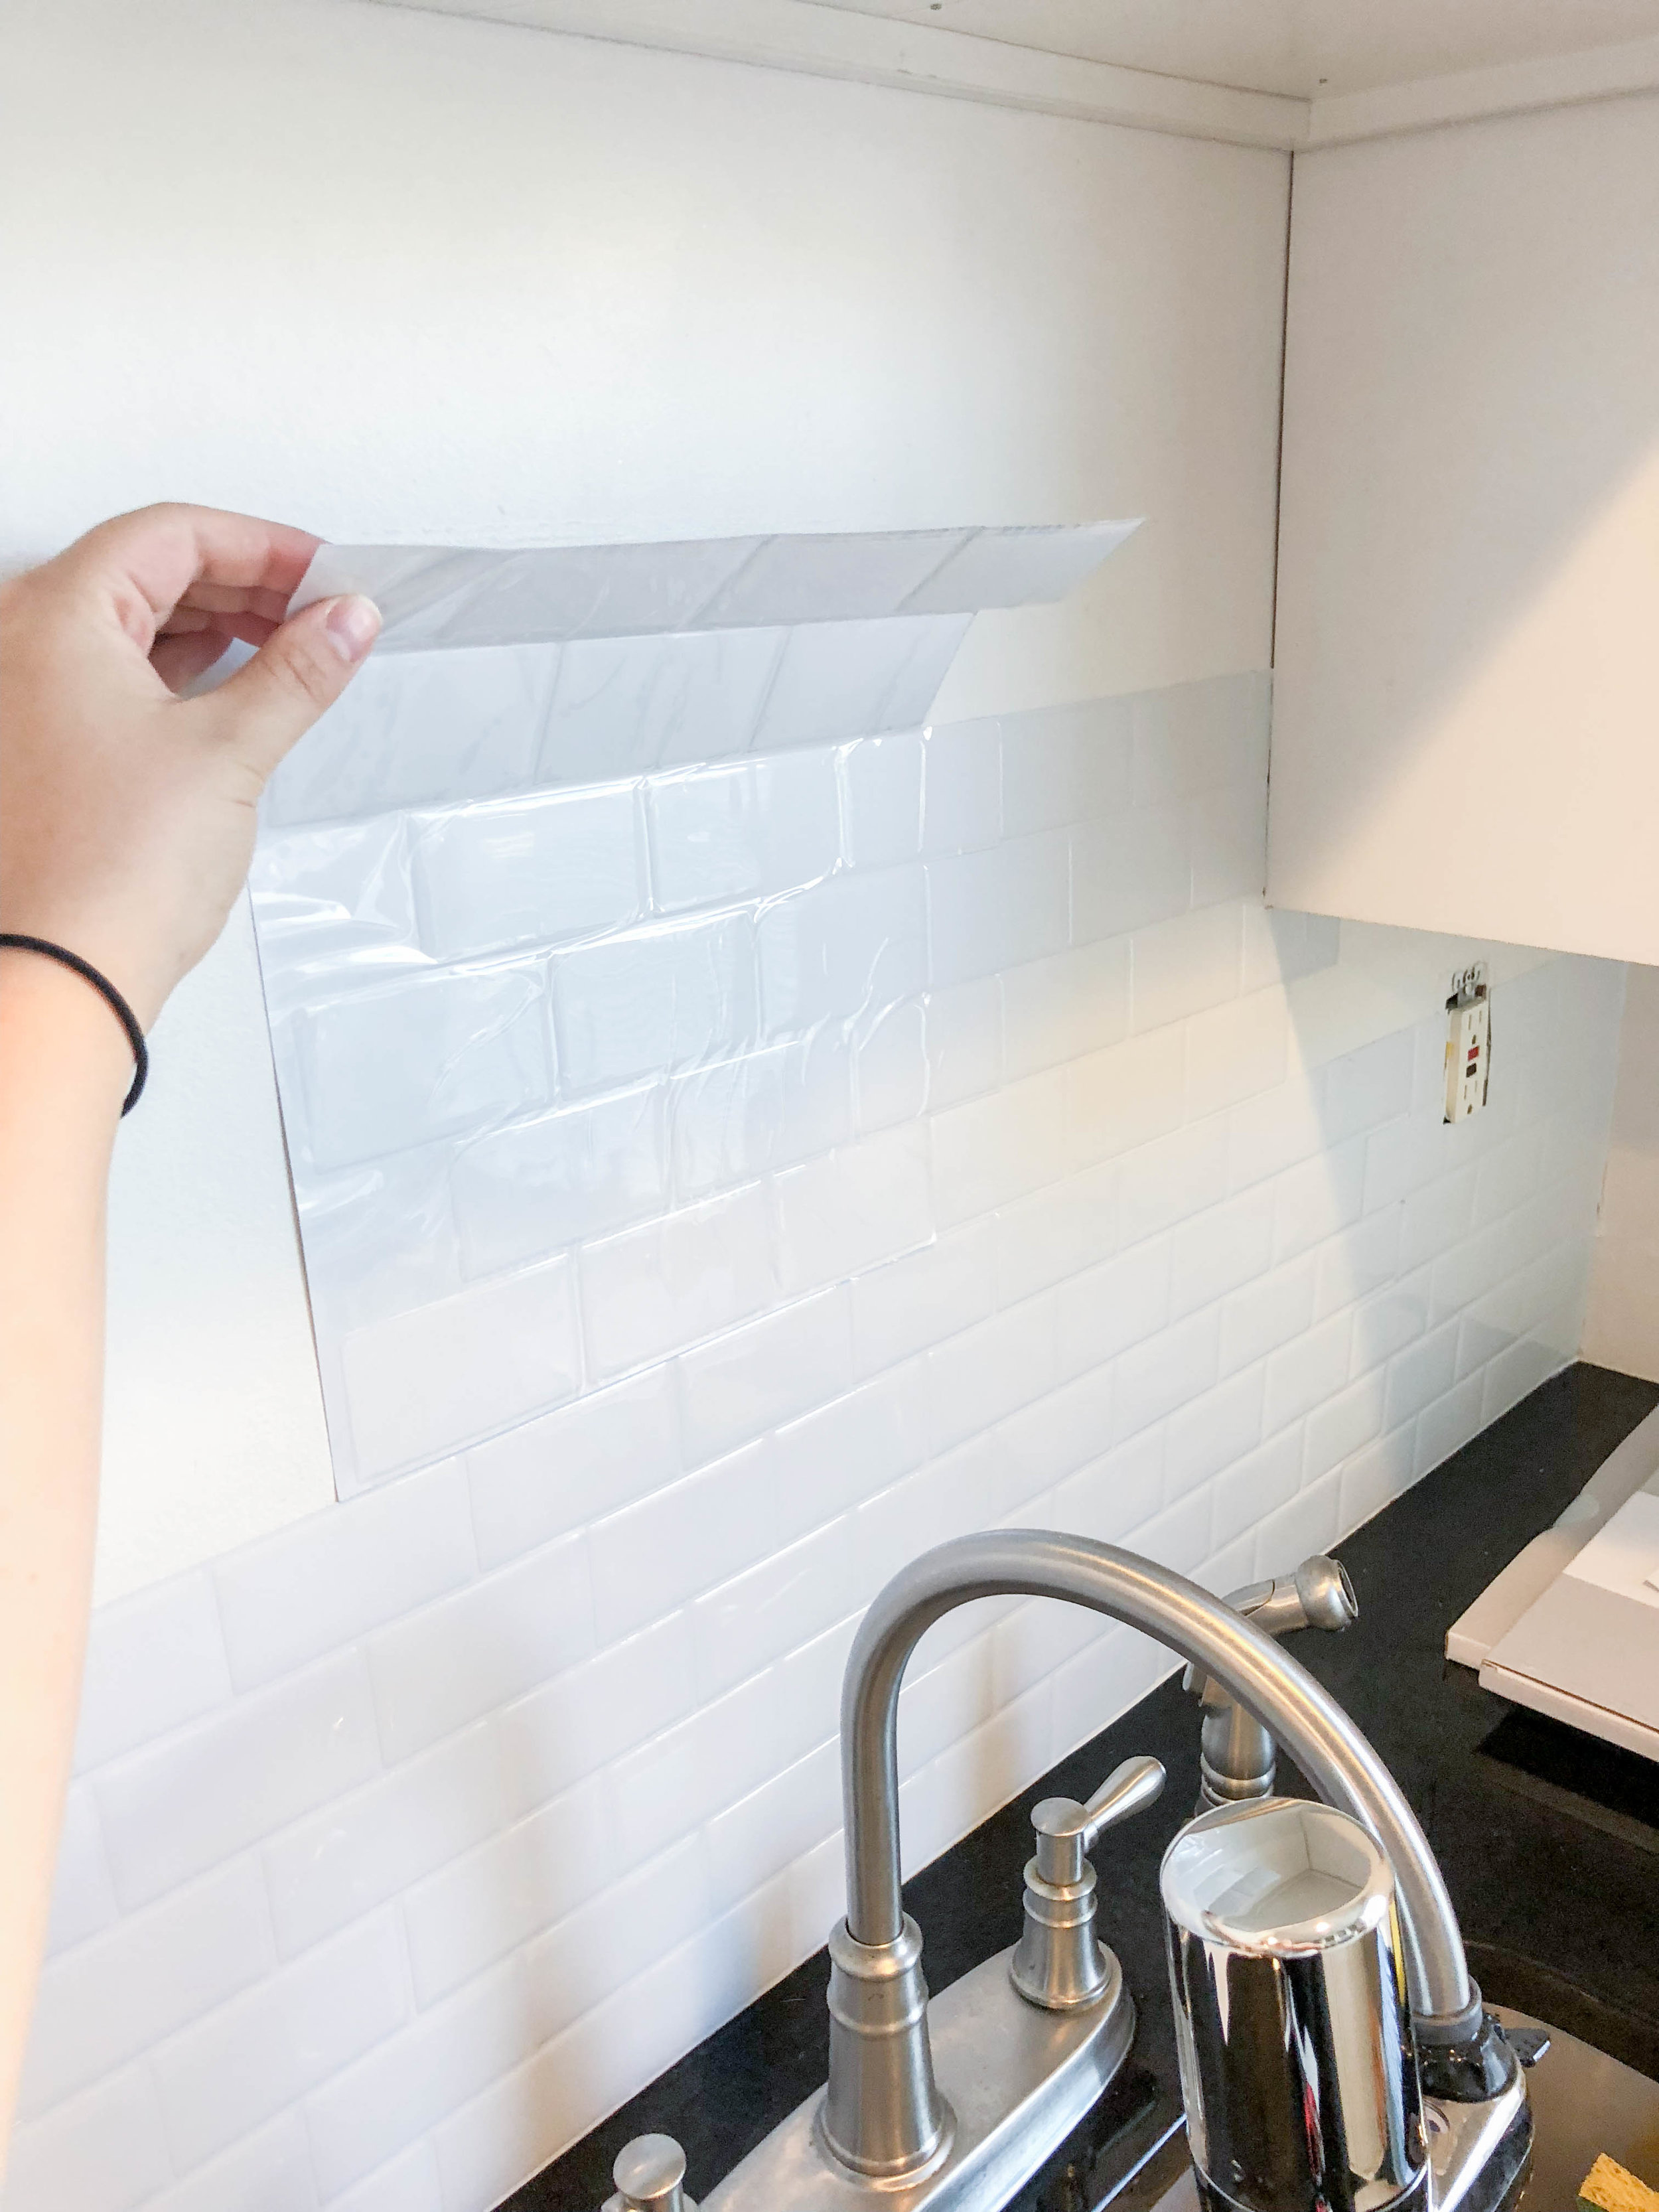
Step Five:
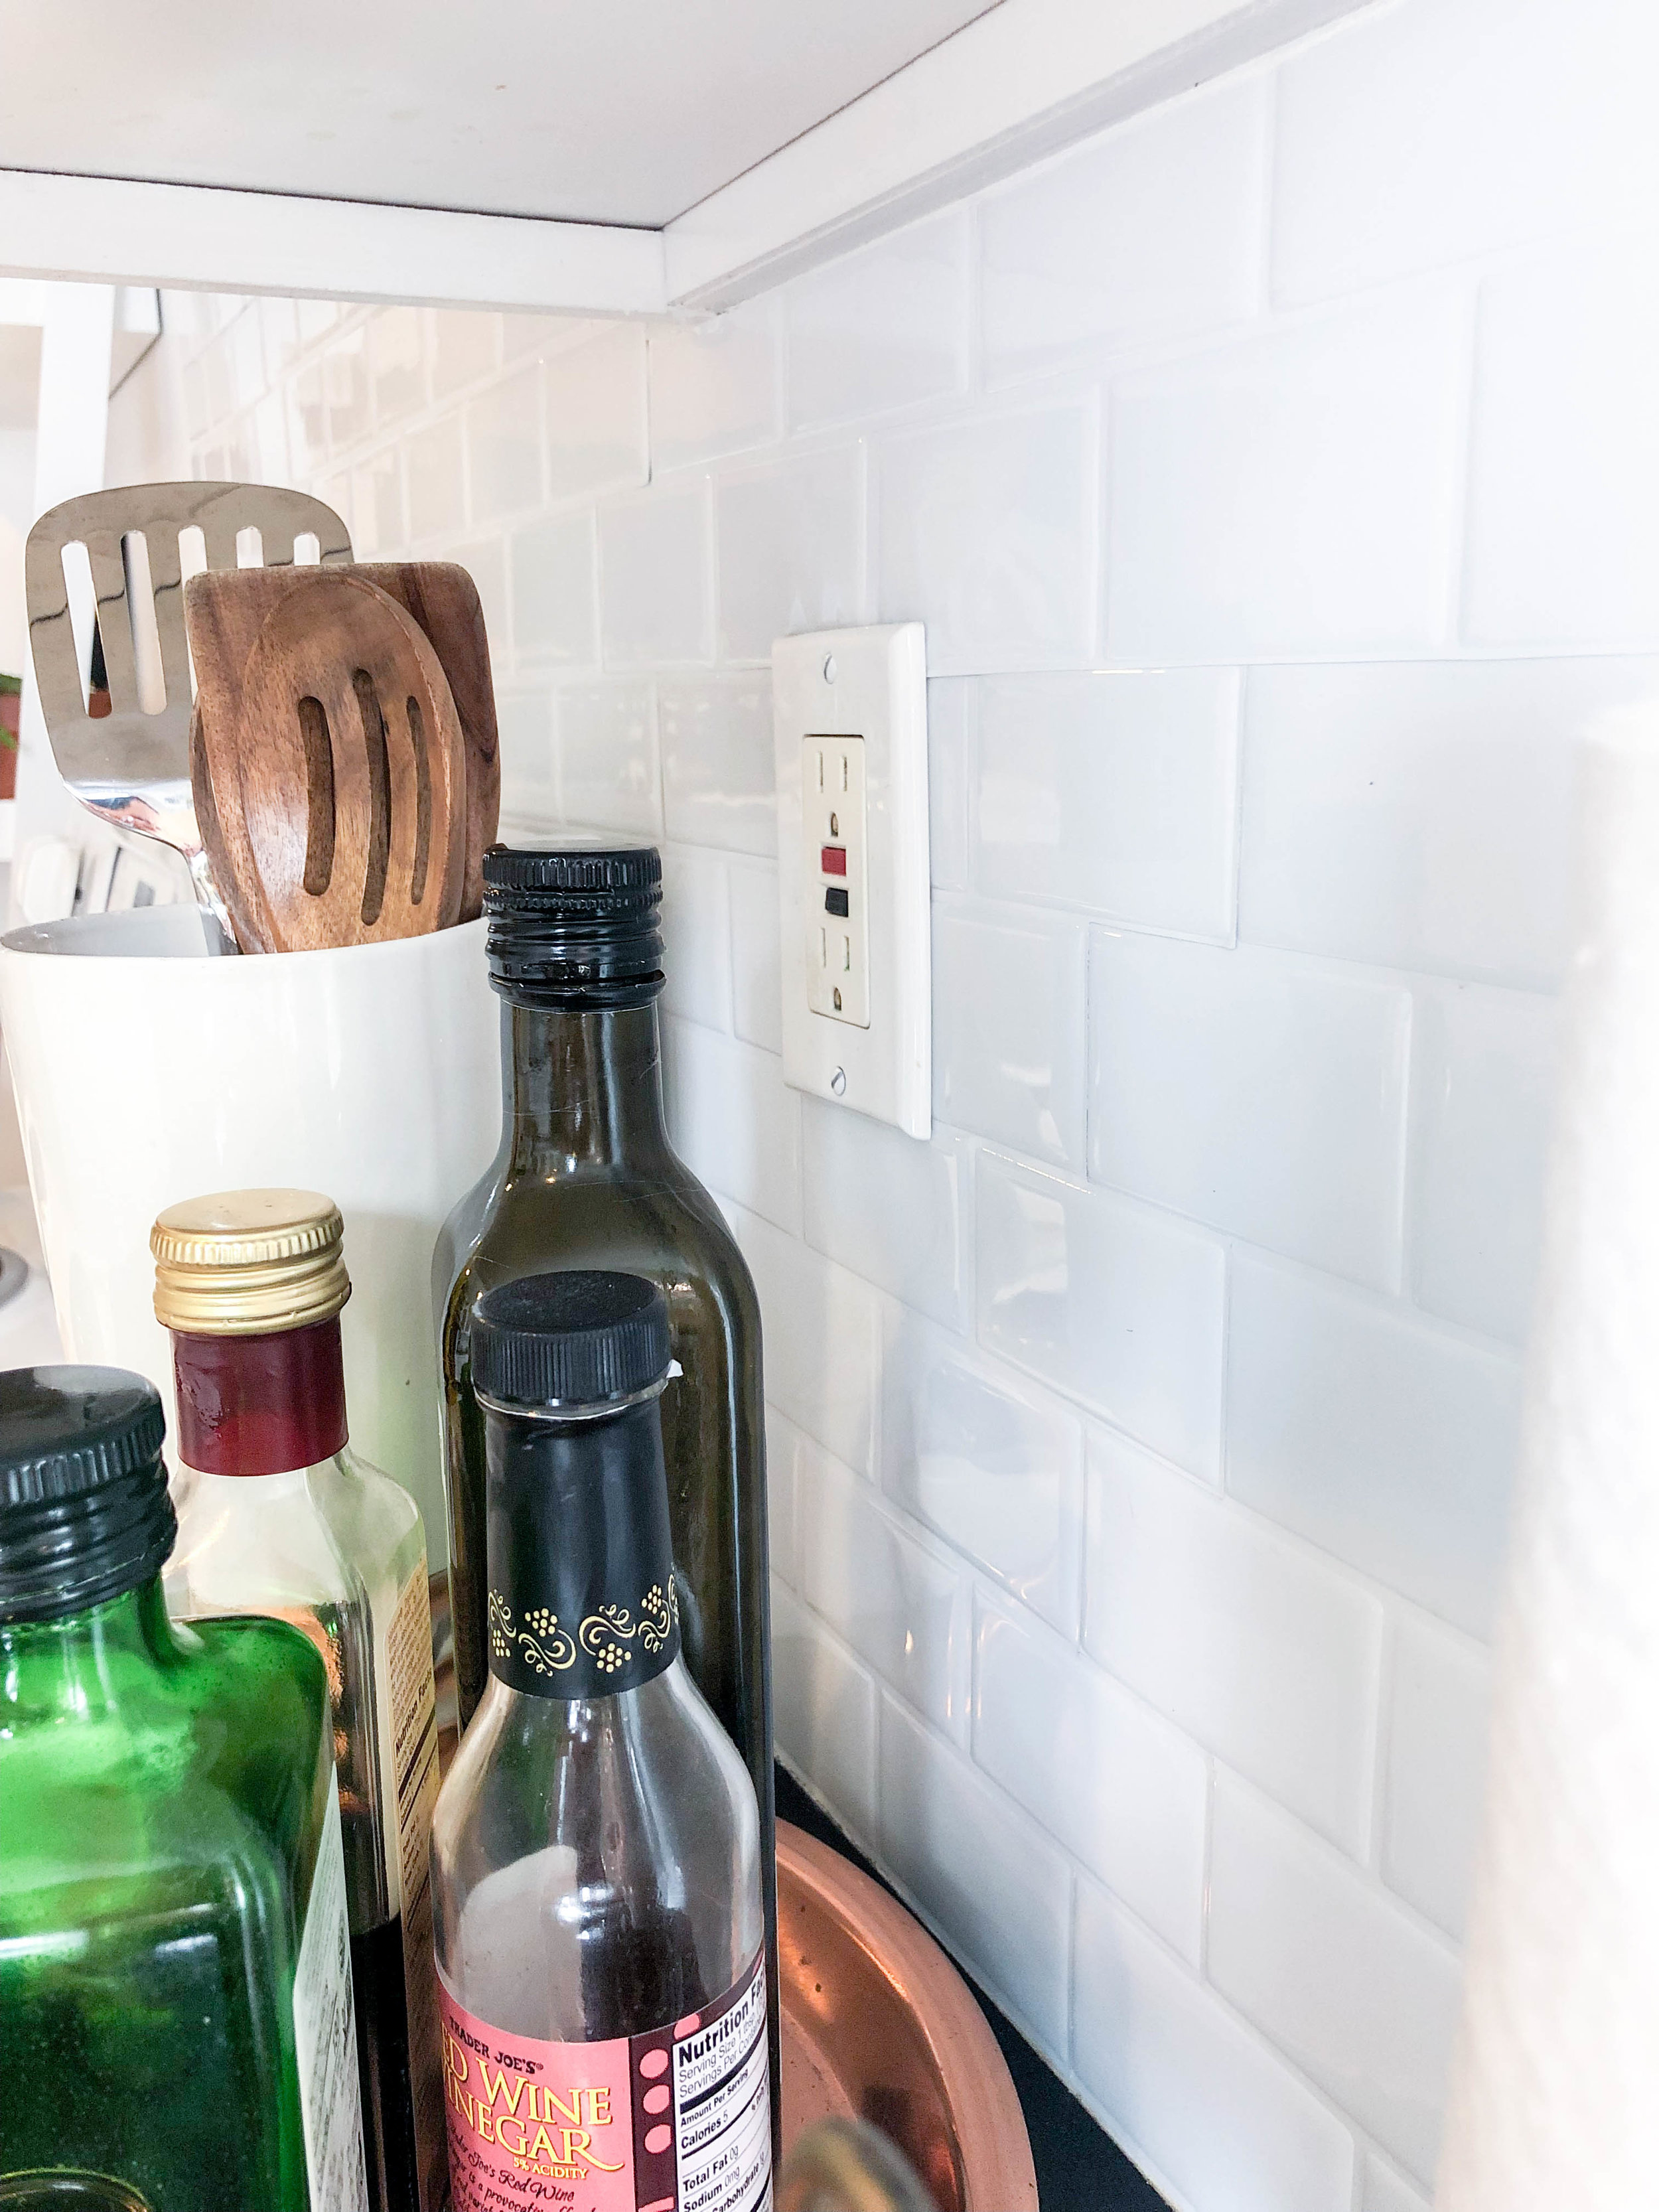
Fill any last gaps with scraps and reattach your electrical outlets.
View fullsize

View fullsize

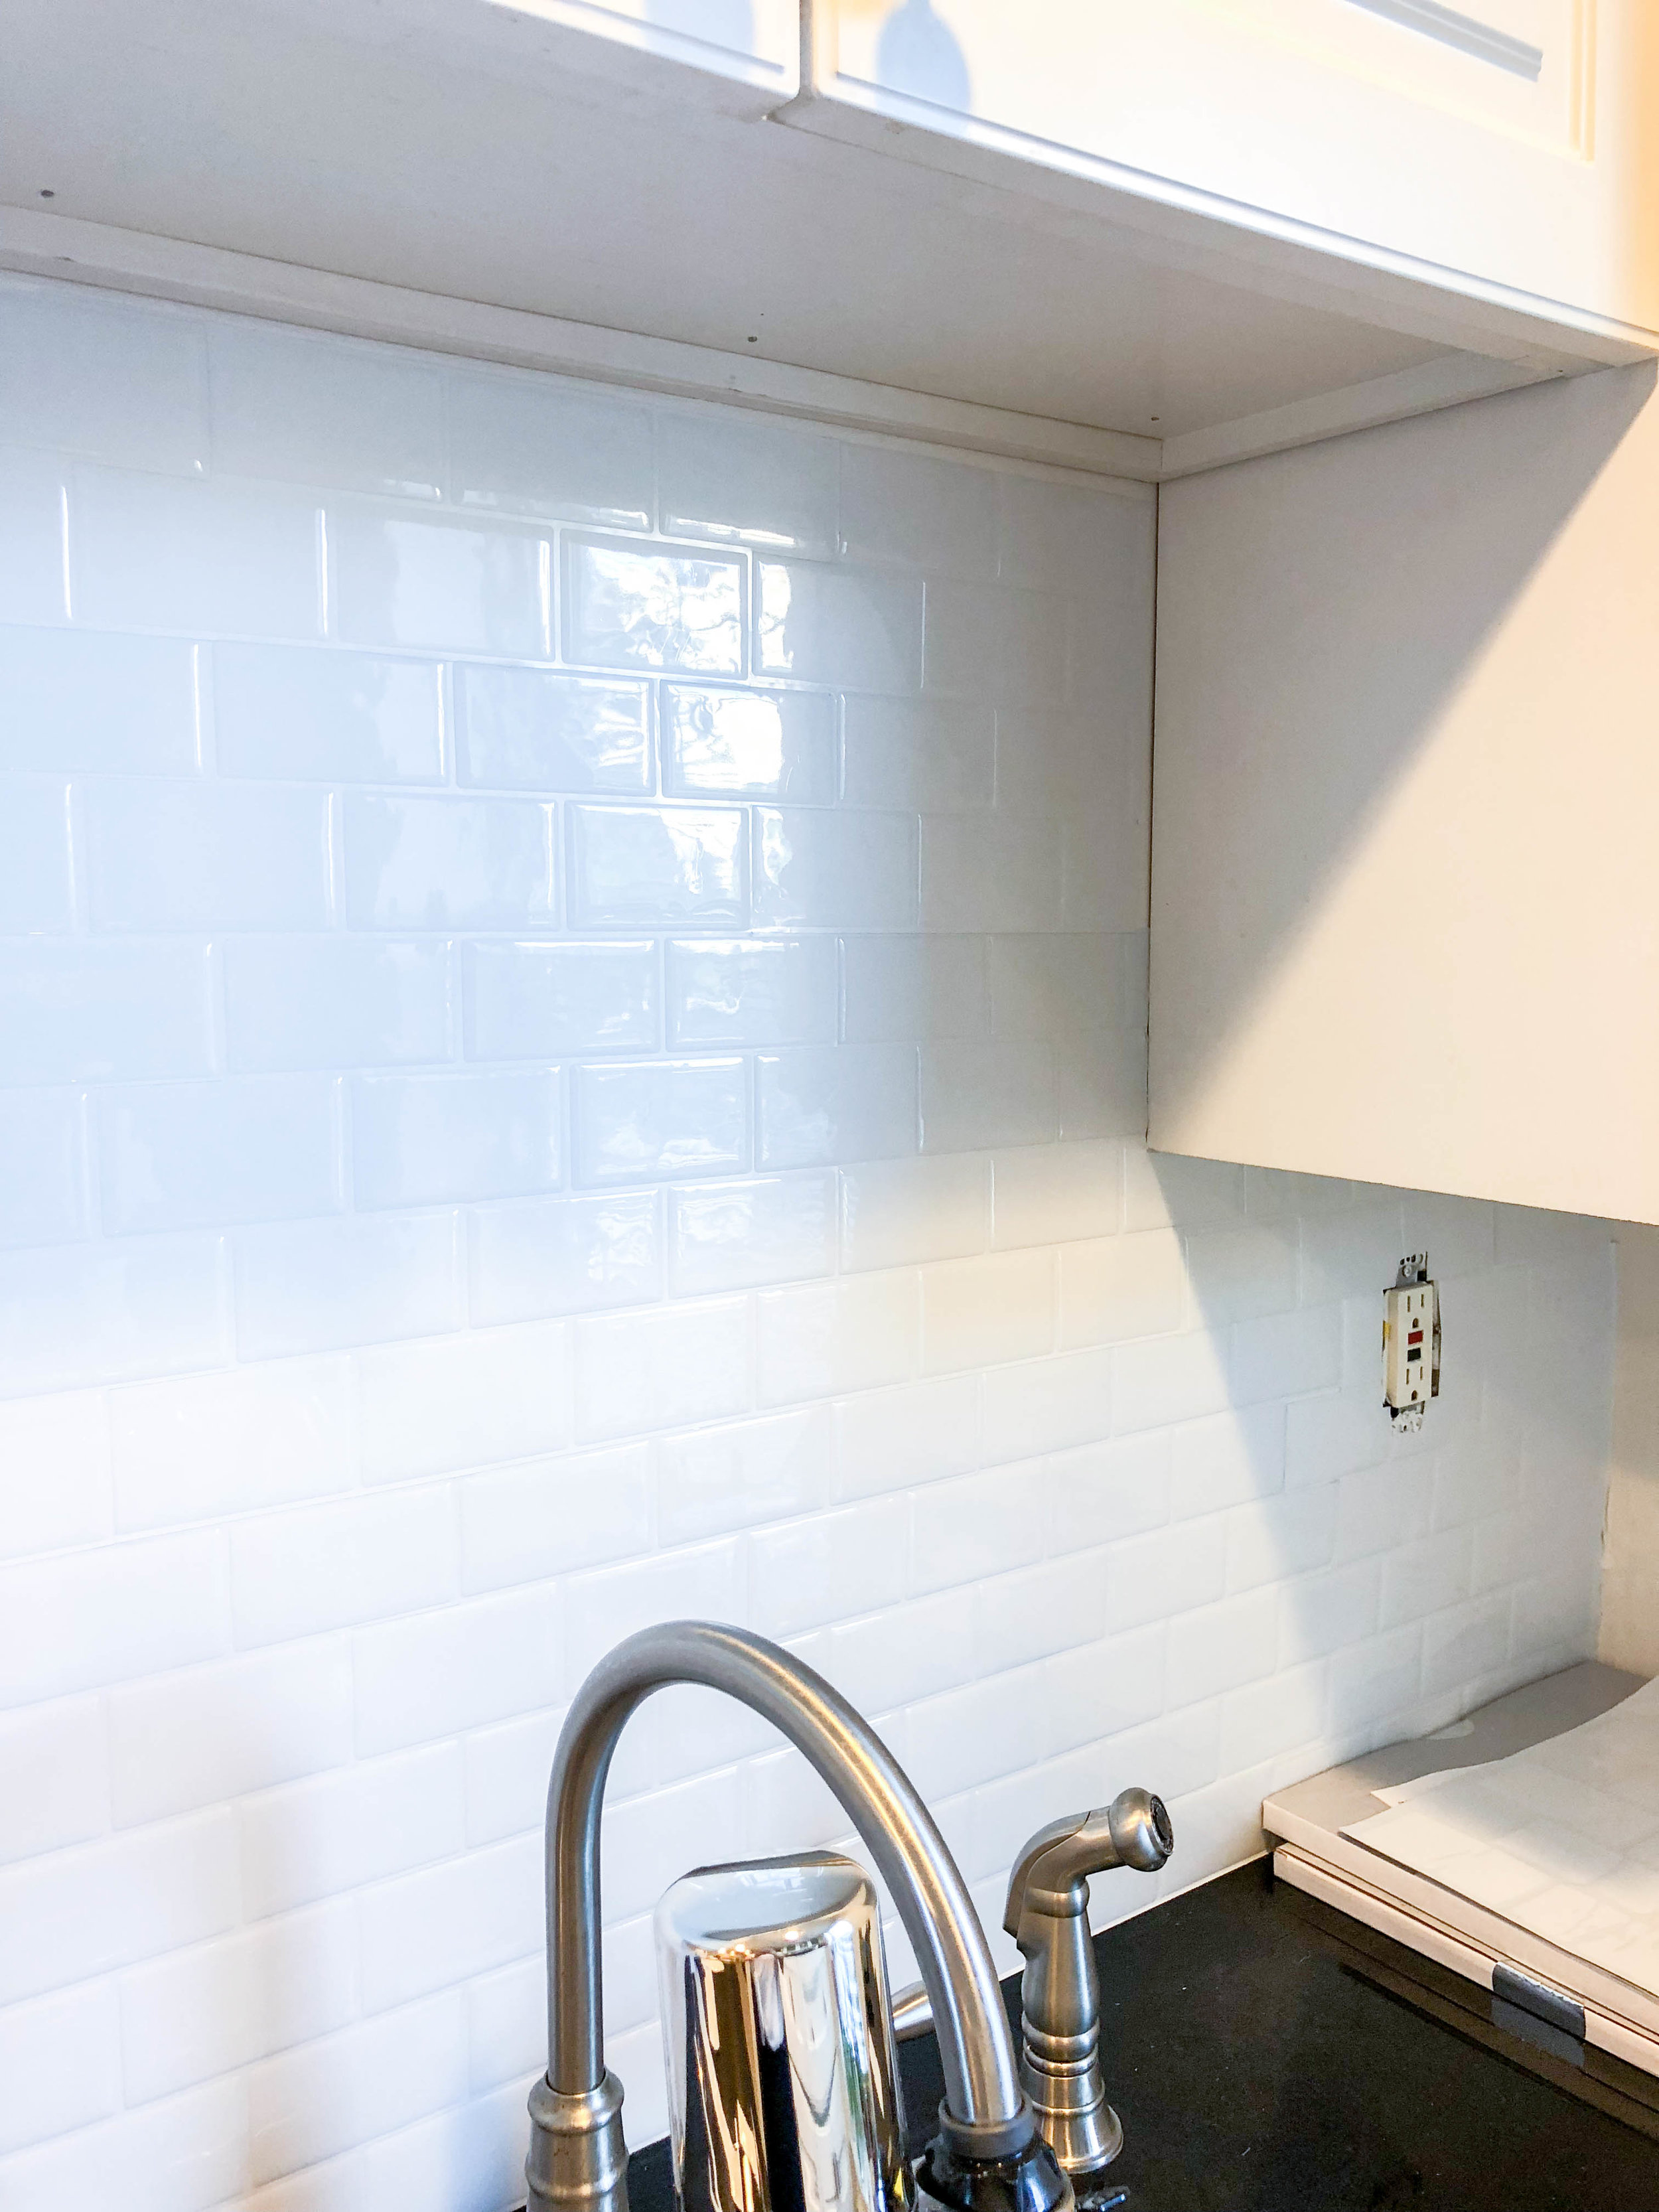
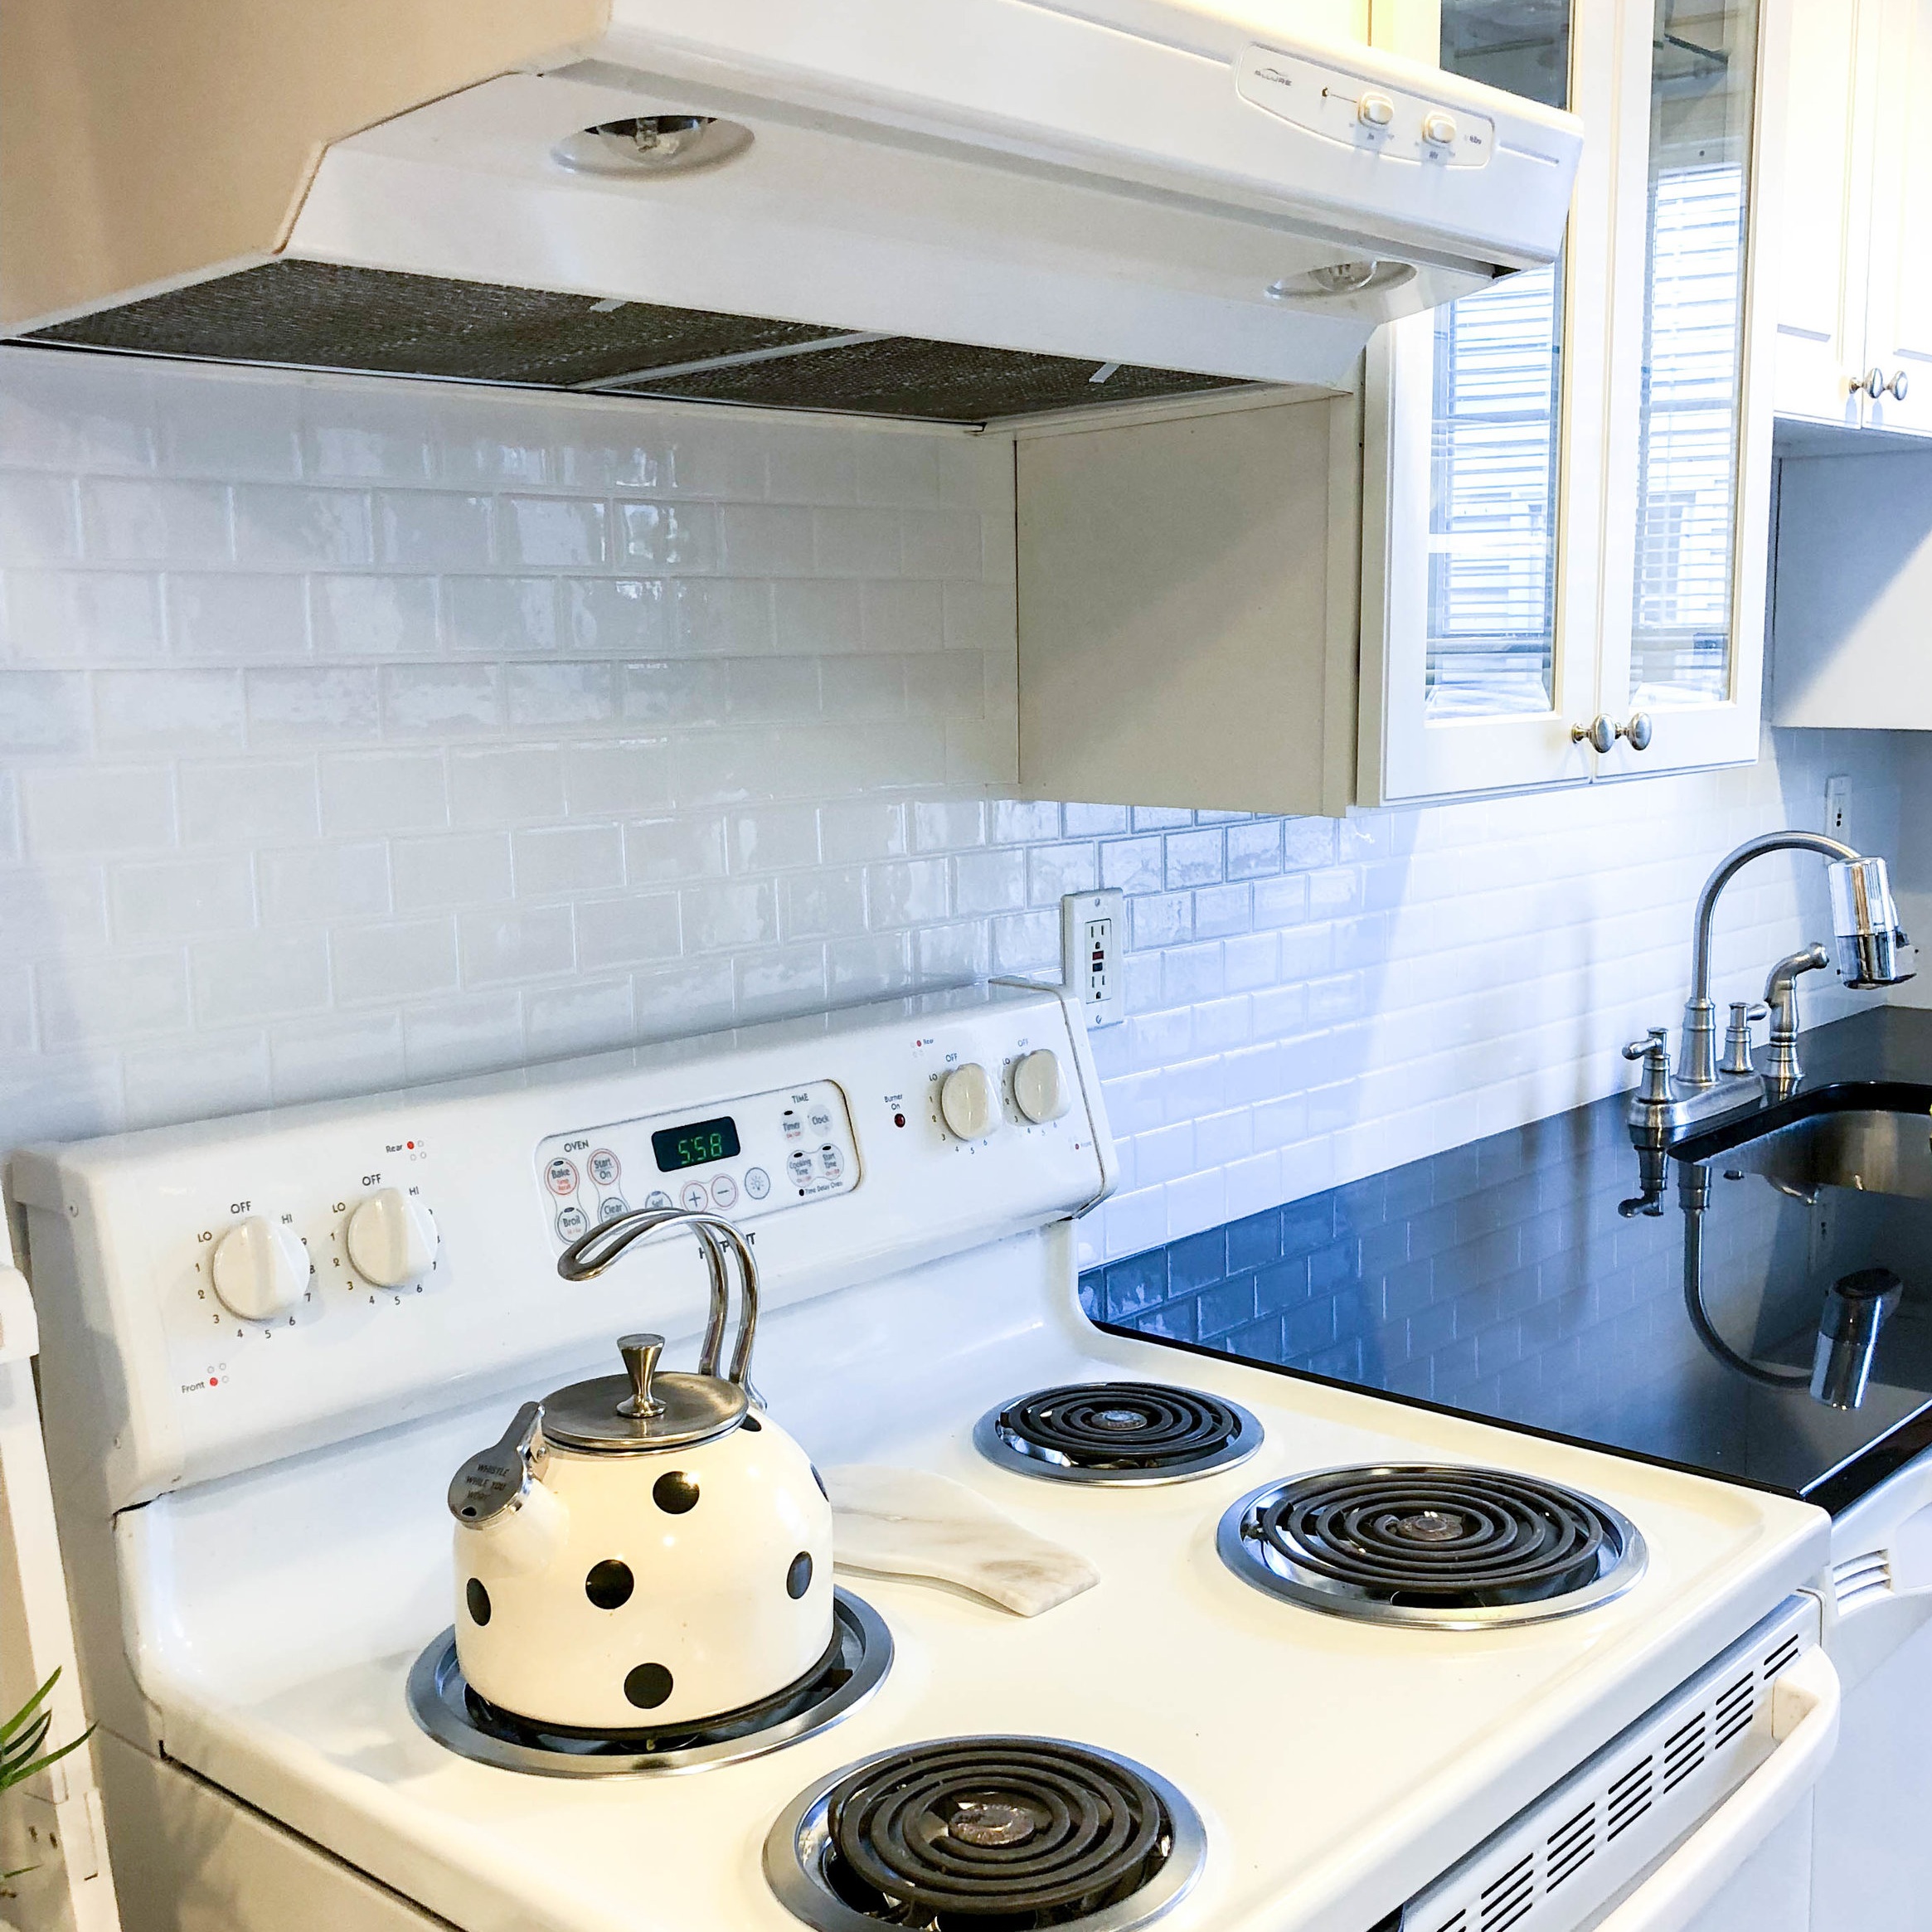
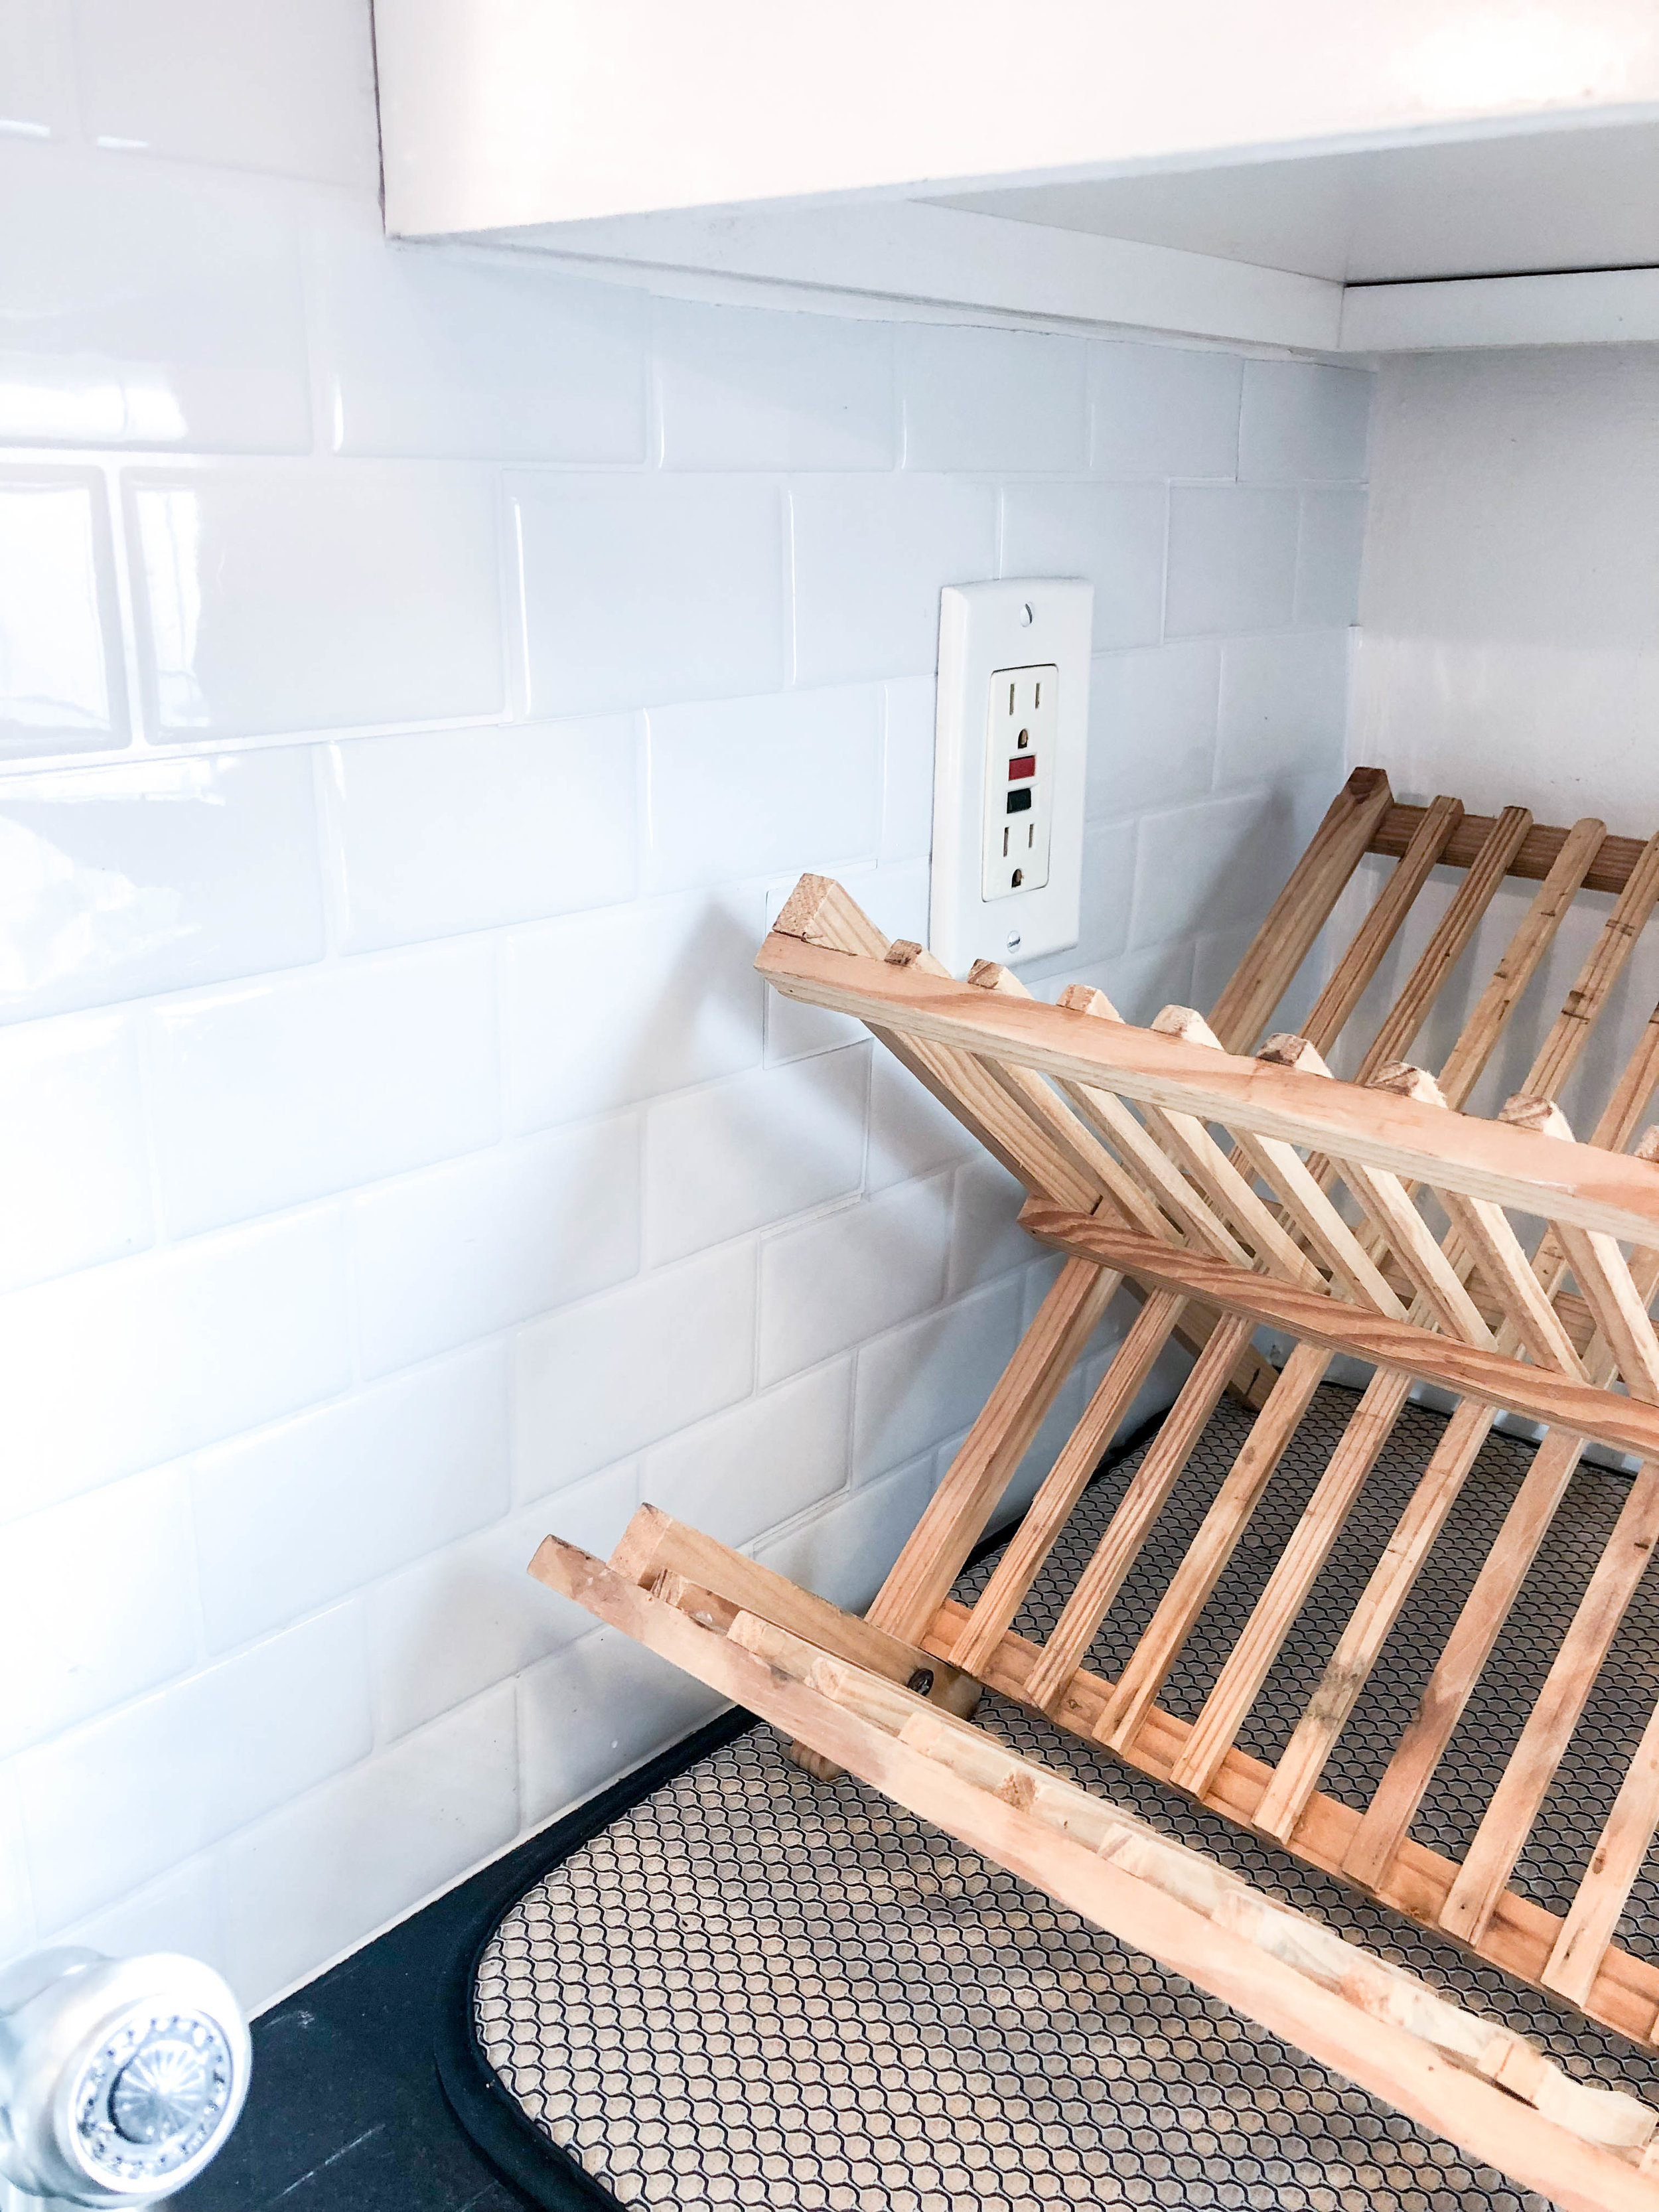
That’s It!
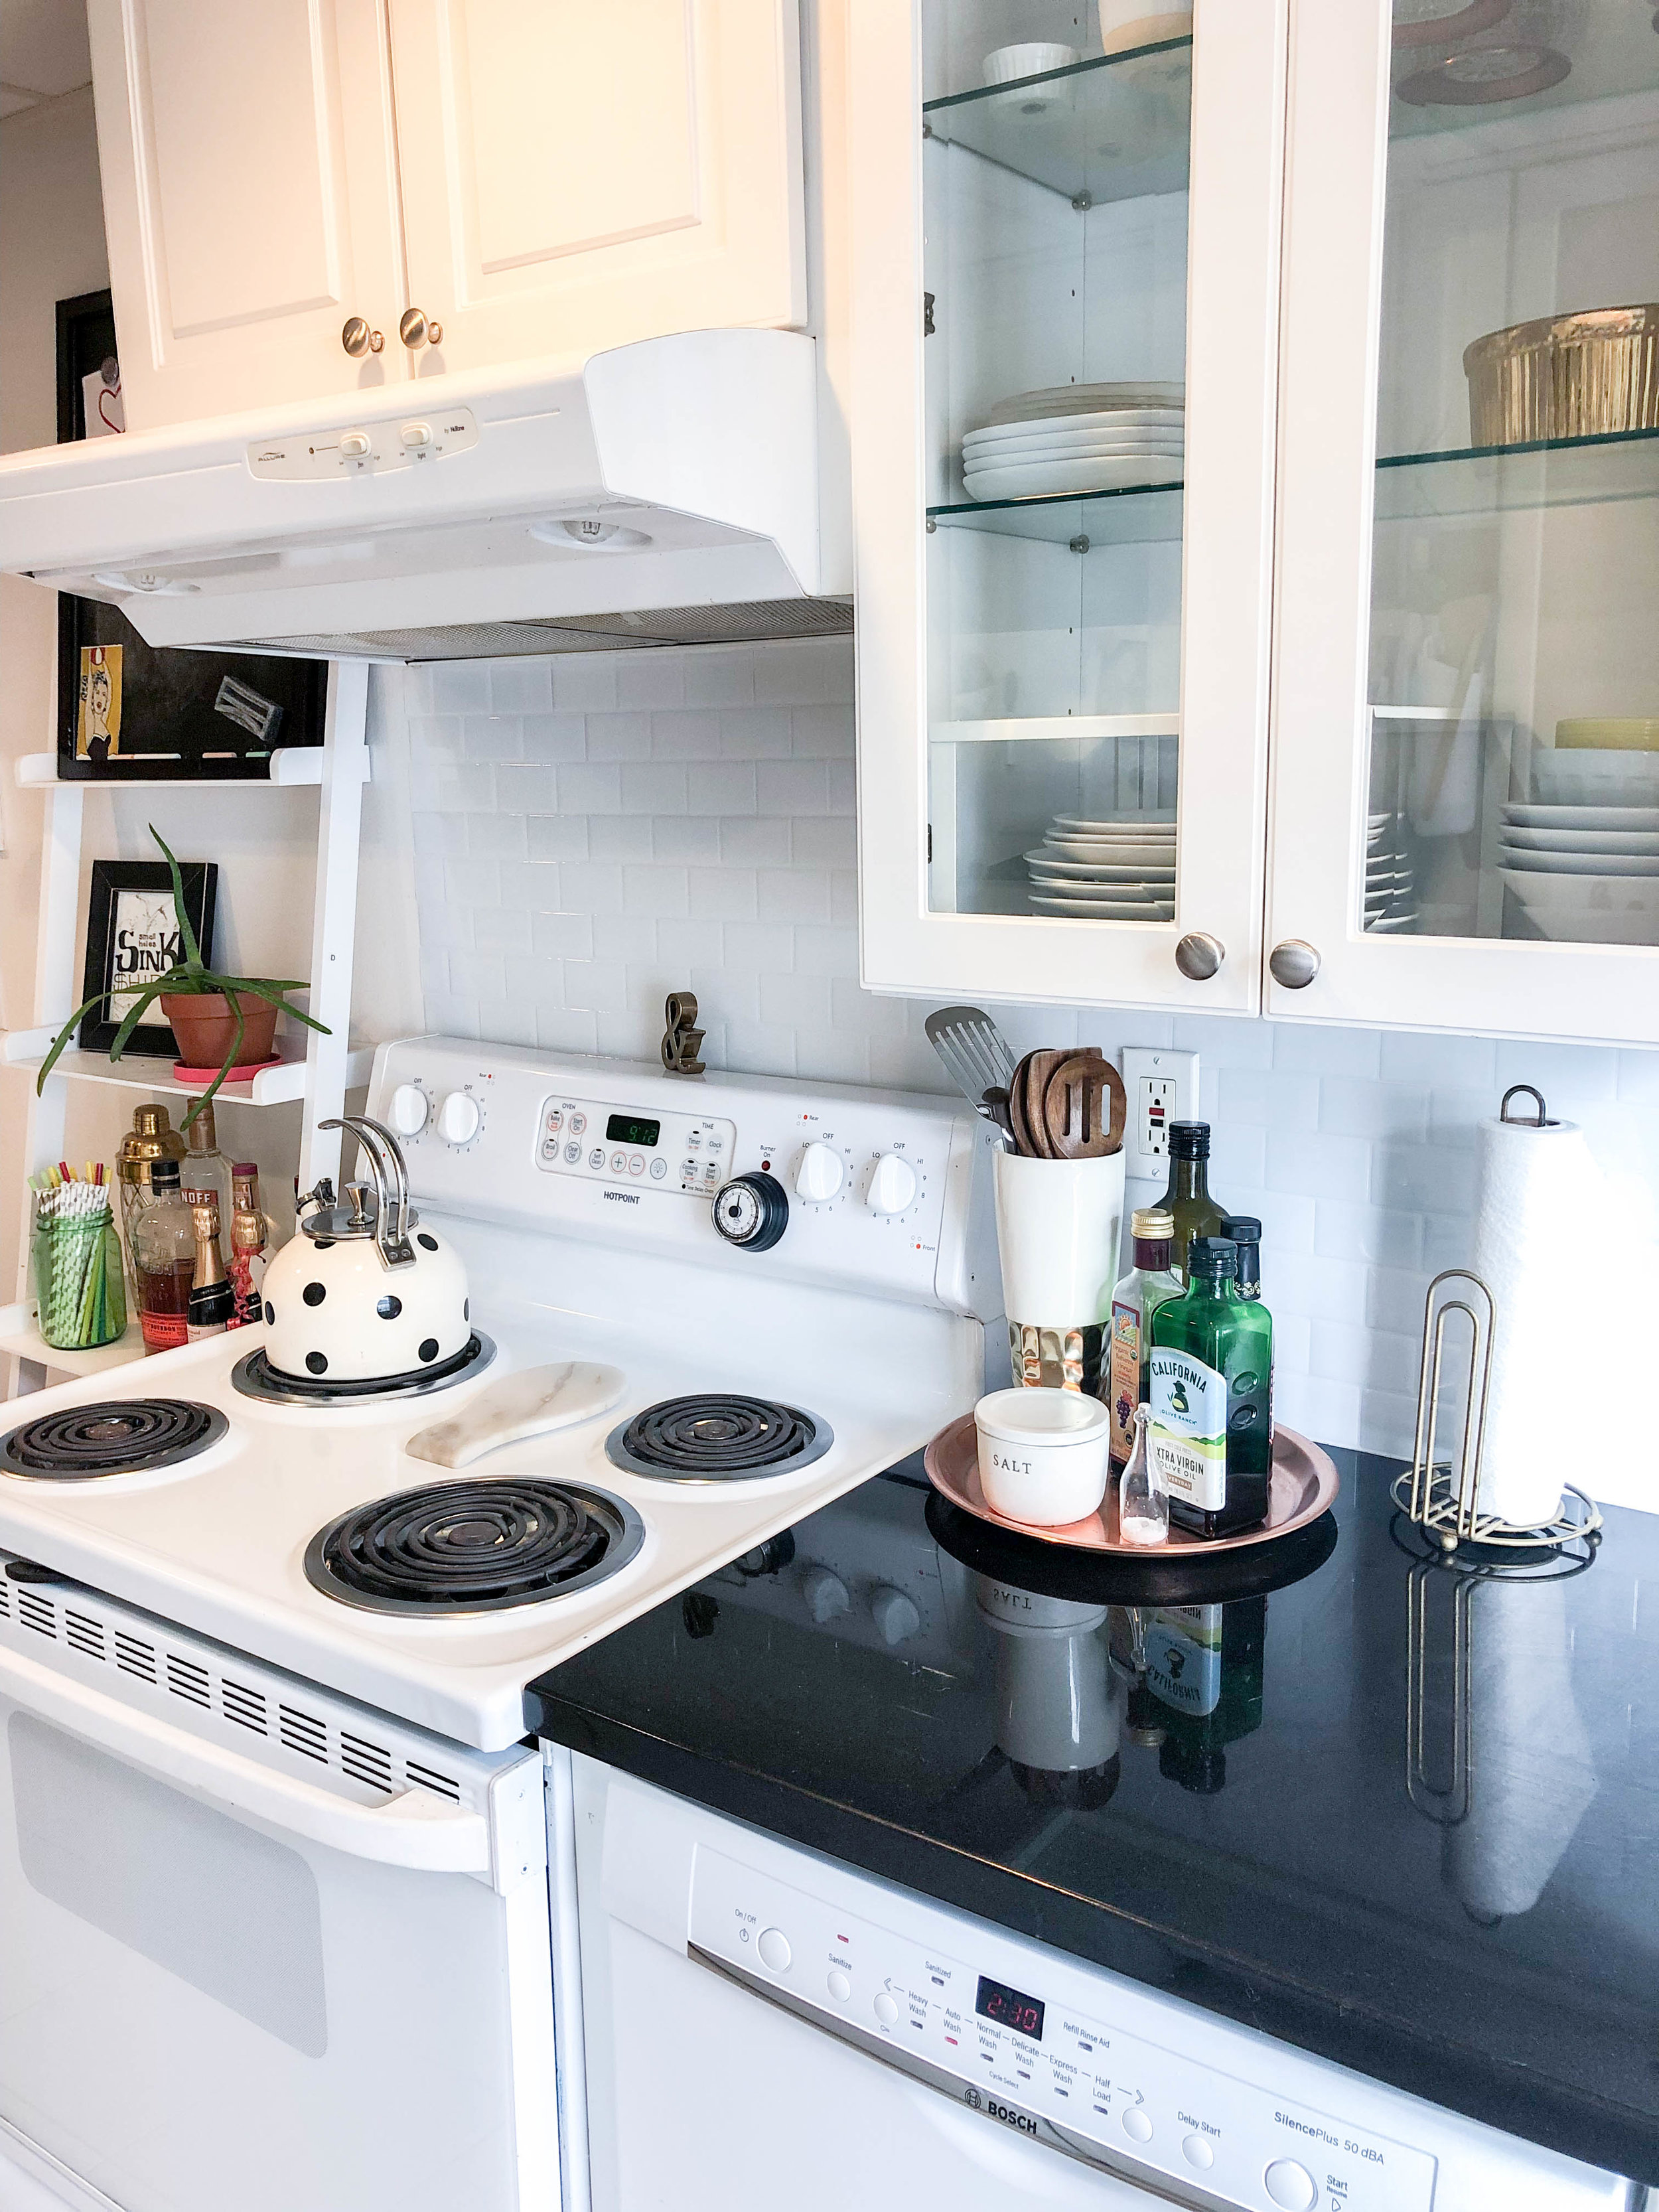
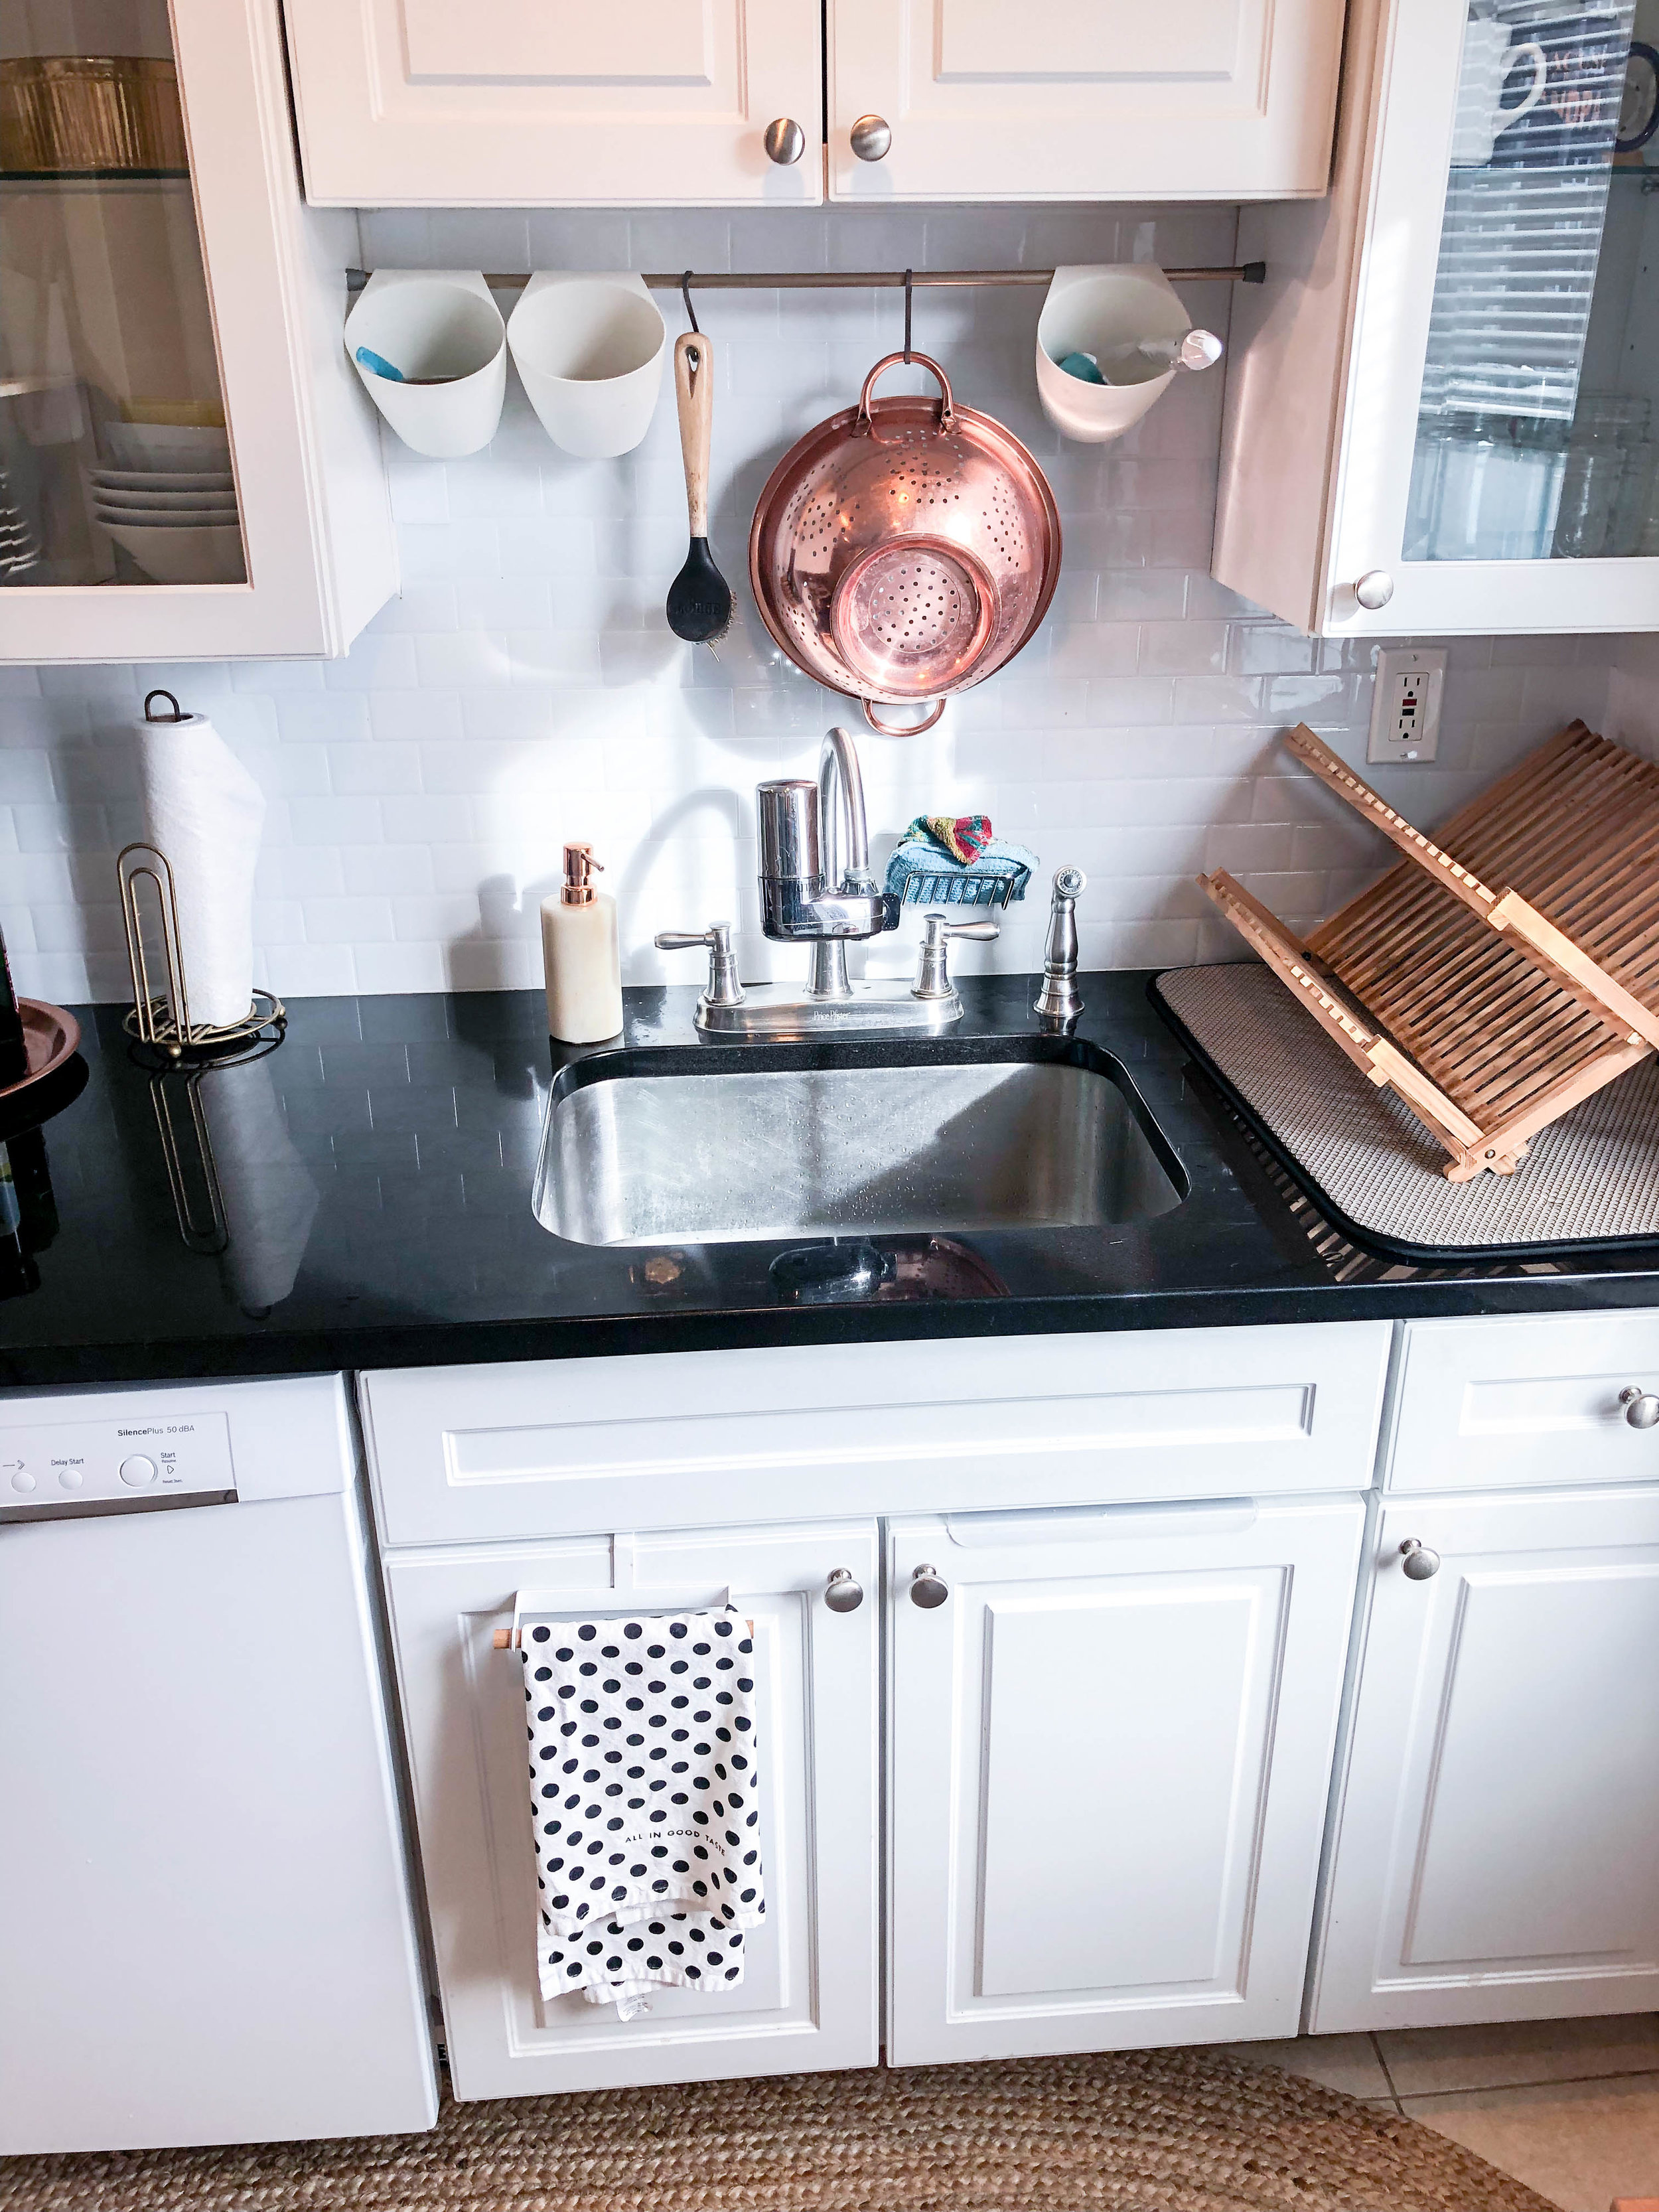
Now step back, admire your work and get cooking!
View fullsize
View fullsize
View fullsize
View fullsize
View fullsize
Have you used peel + stick tiles to upgrade your rentals in other rooms? I want to use these all over now that I know how easy they are and just how good they really look.
